dessert

Nanny's Lemon Loaf

Lemon loaf in baking pan

This past week I returned to Toronto after four months of staying in Nova Scotia with my parents, waiting out winter. I am really grateful to have been able to spend that much time with my family, in a year when many people have been separated from their loved ones for so long. Although I didn’t ever envision myself living with my parents for almost 6 months of my first year “living on my own” (I moved to my first solo apartment in February 2020), I had a lot of fun sharing many meals with them, many walks, and many evening chats. In my time home I also spent a lot of time reflecting and reminiscing on the meals and foods that formed the basis of my love for cooking. My grandmother was a huge part of those early food memories. She was an amazing baker; I used to call her the “pie queen”. She passed away in 2016 but we still have her recipe cards which my mom and I spent one recent Saturday afternoon exploring.

Most of my go-to baked goods are her recipes, and I hope to share more of them here to continue on her legacy. This lemon loaf was written on a few recipe cards throughout our findings, including Mom’s notebooks, so it is definitely an Avery family favourite. The original calls for shortening, which I’ve subbed below for butter. Like many of her recipes, there were limited instructions. I feel like my Nanny had such great instincts in the kitchen, as does my Mom, so those notes weren’t needed. I’ve tried to interpret the method below. I hope you try out this recipe and feel the love and warmth I do every time I bake it. 

Recipe cards and notebook on a table

Lemon loaf is a classic Nova Scotia treat, perfect with afternoon tea, morning coffee, or… sneaking as many slices as you can when no one is looking. It is fragrant, sweet, and the lemon glaze adds an extra tartness to the exterior that makes you want to come back for more. 

Here are a few tips for the recipe:

Do not overmix the batter

Like all cakes, you want to ensure that once you combine wet and dry ingredients that you don’t overmix, otherwise you will have a dense, chewy cake. The batter should just come together.


Pour the lemon glaze on right when it comes out of the oven

To get a crispy, sugary crust on the loaf, ensure you pour your glaze on right when it comes out of the oven. The glaze will run down the sides of the pan and soak into the loaf while it’s hot, almost hardening the sugar. If you pour it on when it’s cold it won’t soak in and it will be sticky.

Be patient and let it cool completely

Ok one of the recipe cards from my Nanny said to wait 24 HOURS BEFORE EATING. That is actually wild, I do not recommend. But I DO recommend maybe leaving the house for a few hours while it cools so you aren’t tempted to cut into it while it’s still warm! This is best served completely cooled and it will take a few hours to lose its temperature.

710A5D31-7F63-4385-AE7D-BE9282CFF181.jpg

Nanny's Lemon Loaf

15 min prep time, 60 min bake time, let cool for 4-6 hours

Ingredients


½ cup room temperature butter

1 cup white sugar

2 eggs

Zest of 1 lemon 

1 ½ cup all purpose flour

½ tsp kosher salt

1 tsp baking powder

½ cup milk

Glaze

Juice of 1 lemon 

¼ cup white sugar


Method:

  1. Preheat the oven to 350F. Prepare a loaf pan by greasing or lining with parchment paper.

  2. Using a hand mixer or stand mixer, cream together butter and sugar until light and fluffy. 2-3 minutes on high.

  3. Add in the eggs and continue to beat until well mixed and fluffy. It will take some time for the liquid of the eggs to mix in fully to the butter mixture so be patient! It should look smooth and fluffy.

  4. Add in lemon zest and combine well.

  5. In a separate bowl whisk together flour, salt, baking powder.

  6. Gently fold dry ingredients into egg mixture until craggly, it’s ok if there are some dry ingredient patches.

  7. Pour in the milk and fold gently until well mixed but not overmixed. The batter should just come together, with no dry patches or milk patches.

  8. Pour batter into loaf pan and place into 350F oven. Bake for 60 minutes until golden brown and cracked on top -  a cake tester should come out clean!

  9. While the loaf is baking, whisk together your lemon juice and sugar until sugar is dissolved.

  10. Immediately after the loaf is removed from the oven, pour the glaze over top. It’s critical that you pour when it’s piping hot to get the beautiful crust outside that isn’t sticky.

  11. Allow the loaf to cool completely, ideally 4-6 hours before slicing and serving.


Ginger Molasses Cake with Apple Cider Sauce

8FAF6104-E701-436C-B6D1-446DBFCCCA4C.JPG

Ginger molasses cake was a classic winter dessert growing up. We often had it around the holidays - warming, aromatic, and so cozy. Most recipes make a 9 x 13 pan which is simply too much dessert for someone living alone. This version keeps all of the comfort of the original recipes but adjusts it to make 1 circle cake pan, or 8 servings, instead of what sometimes feels like 400 servings. I’m being dramatic, but small batch baking is needed in 2020! The sauce uses pressed apple cider (the kind that comes in jugs at the farmers market), but if apple cider is out of season I’ve included a modification below for a brown sugar sauce. Served best warm with whipped cream or ice cream.


Ginger Molasses Cake w/ Apple Cider Sauce

8 servings, 35-45 mins total

Cake Ingredients:

1/3 cup butter, room temperature

1/3 cup white sugar

1 egg

1/2 cup molasses

1 1/2 cup all purpose flour

1 tsp baking soda

1 tsp ground cinnamon

1 tsp ground ginger

1/2 tsp kosher salt

1/2 cup hot water

Method:

  1. Preheat oven to 375F. Line the bottom of a 9 inch cake pan (circle) or 8x8 square pan with parchment paper and grease the sides.

  2. Cream together butter and sugar until light and fluffy. Add in egg and continue to mix until well incorporated.

  3. Mix in molasses - if using an electric mixer  beat for 2-3 mins until light and fluffy. Otherwise mix by hand for 5-6 mins until light and fluffy.

  4. Add in dry ingredients, mixing until just combined. Texture should be like cookie dough.

  5. Pour in hot water and mix until batter becomes looser. Do not overmix, you just want the batter to look uniform.

  6. Pour into a greased and lined cake pan and bake at 375F oven for 20-25 mins, until the cake tester comes out clean.


Sauce Ingredients:

1 cup of apple cider 

¼ cup of brown sugar

2 tbsp of flour

2 tbsp of butter

Method:

  1. In a small pot combine apple cider, brown sugar and flour over medium heat. Whisk until clumps of flour are gone and bring to a boil. 

  2. Boil until sauce thickens (3-5 mins). Remove from heat. Add butter and whisk until combined. Serve warm over gingerbread.

** if you don’t have apple cider, you could do 1 cup of brown sugar, ½ cup water, and 1 tsp of lemon juice, plus the above flour and butter ratios for a tangy brown sugar sauce.


Ultimate Rice Krispie Squares

2CC210DB-A2A4-4773-8F6B-47196E8A0826.JPG

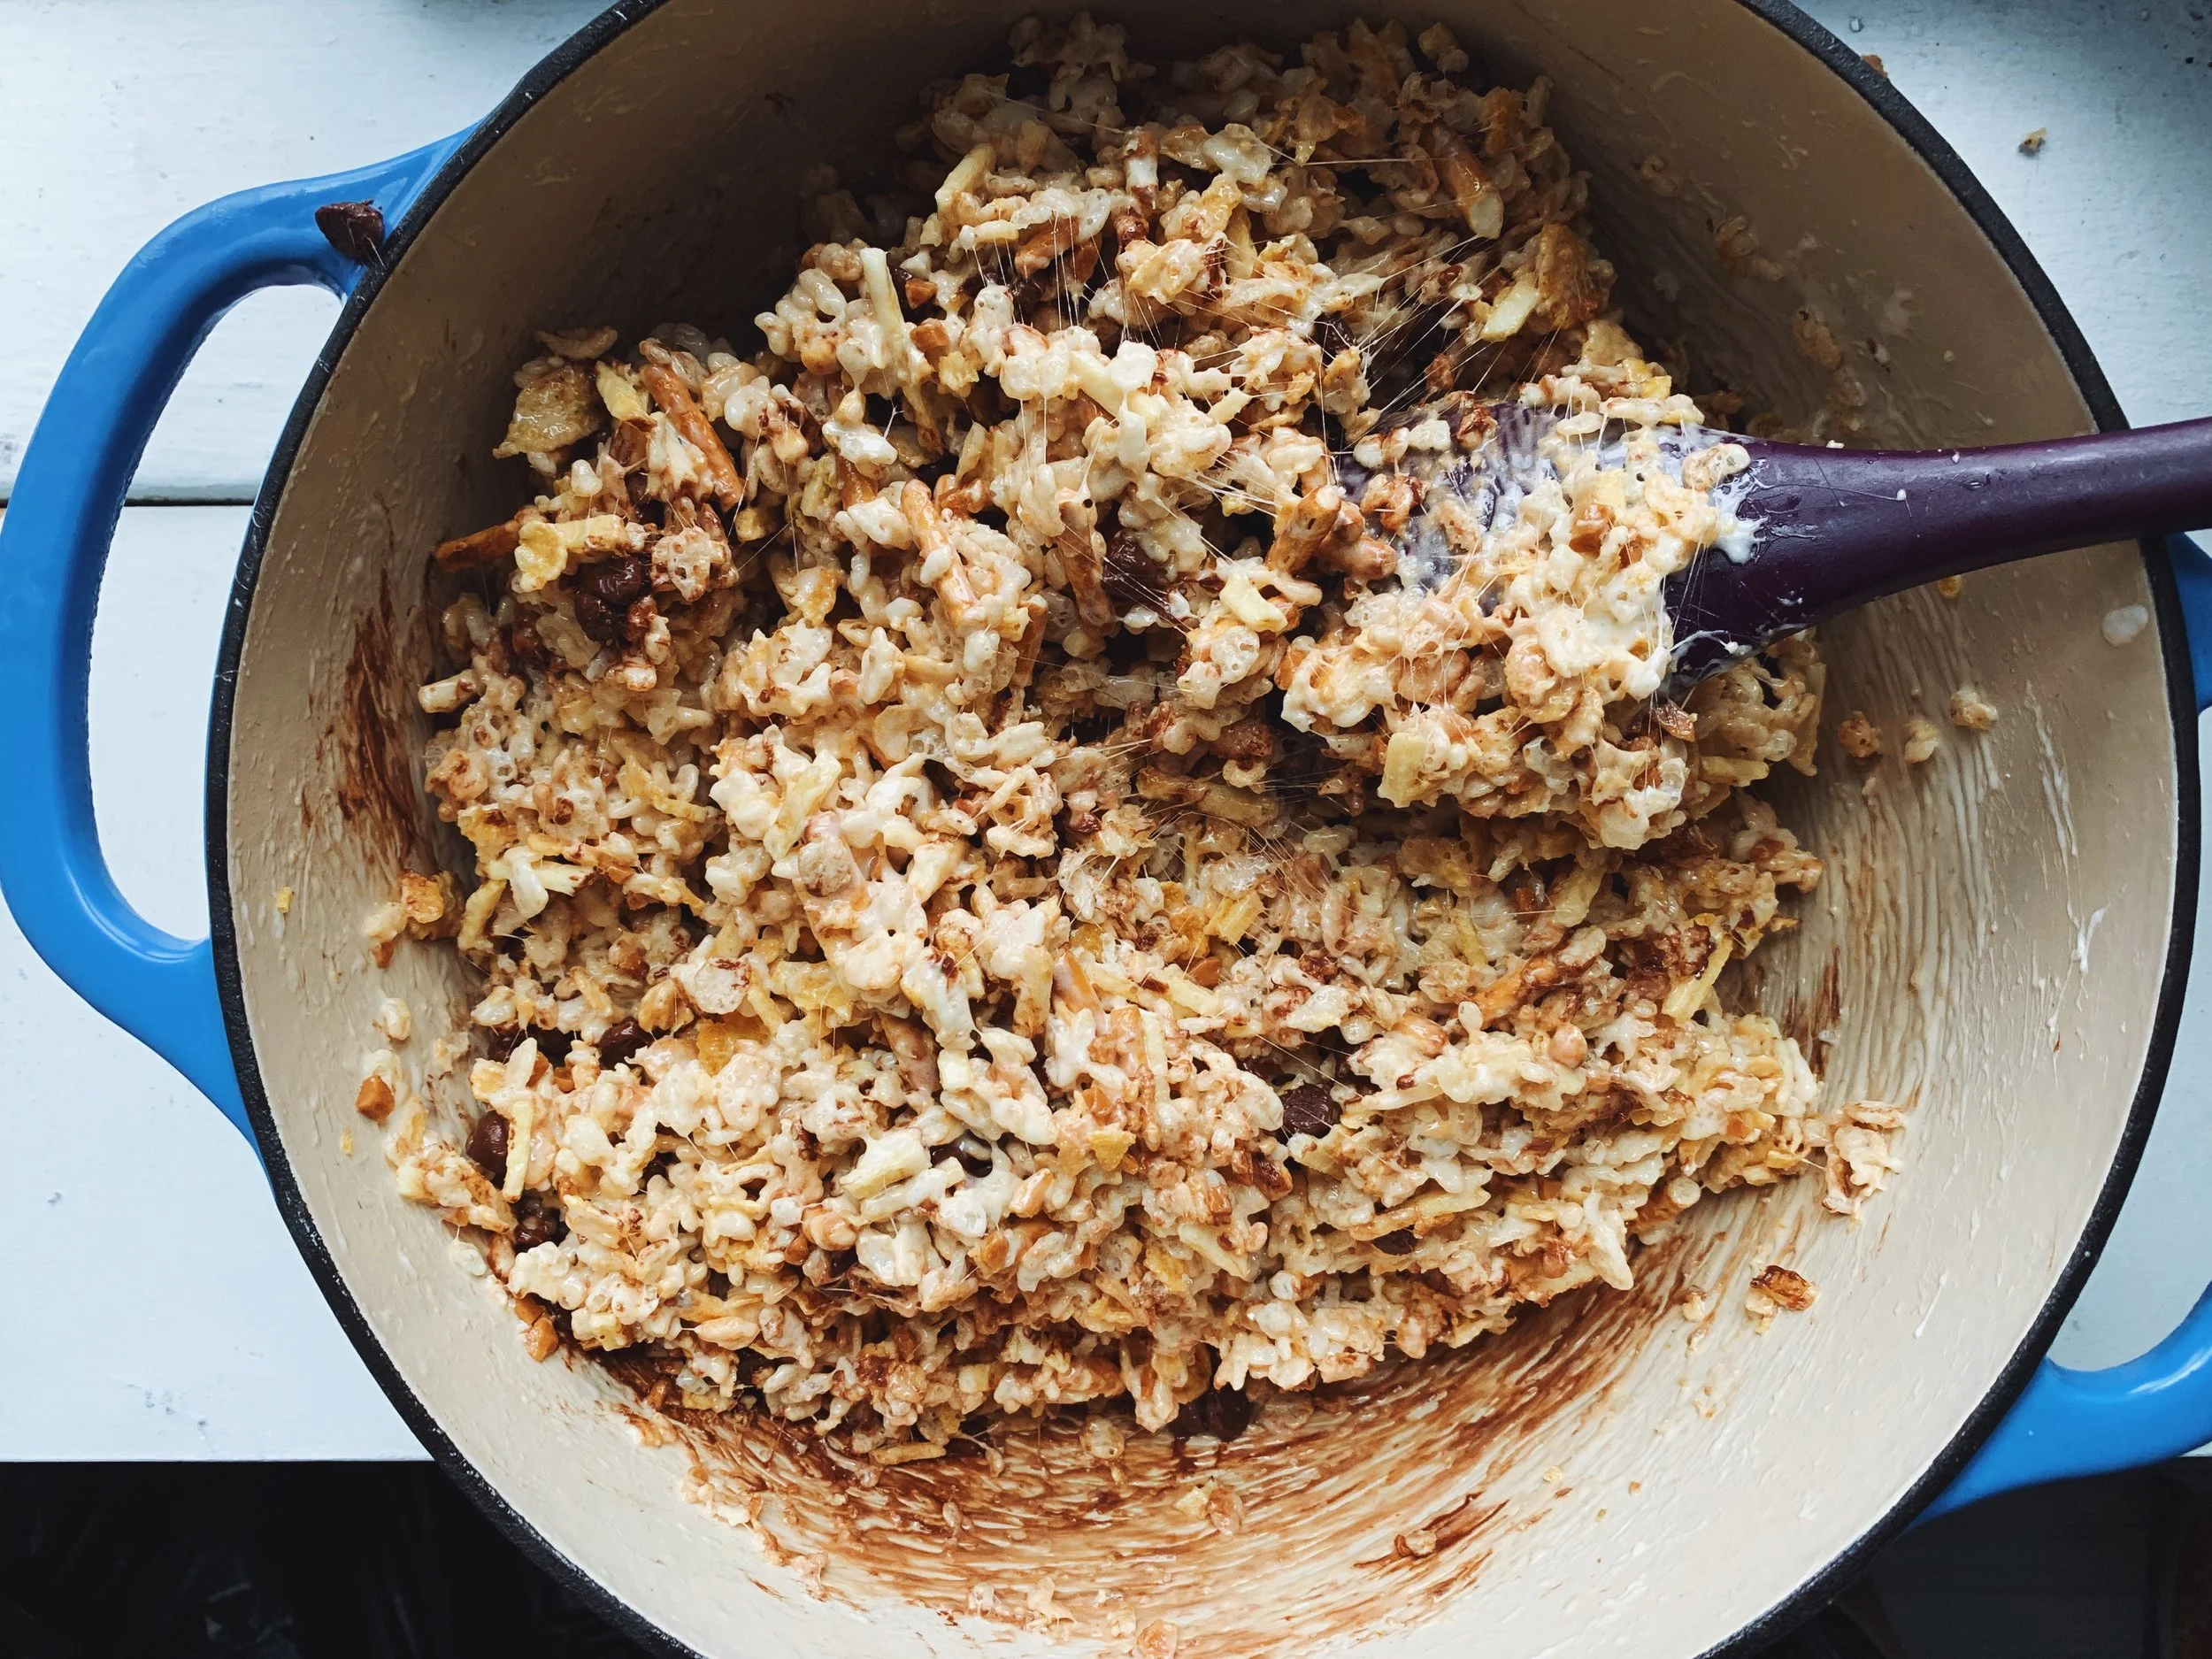
My mom used to always make Rice Krispie squares for my brother and I, and they were the BEST. I always wondered why my mom’s tasted so much better than any other Rice Krispie squares that other moms made, and I still don’t really know. She probably made them once a week, and in preparing this recipe, her and I reminisced, guessing how many batches of these she sent up to Antigonish (2 hours away from home) while my brother and I were in university. She used to always put semi-sweet chocolate chips in her squares, making them perfect with a big glass of milk.

Back in 2015 I bought Milk Bar by Christina Tosi, and quickly became obsessed with her ability to bring together nostalgia and perfectly seasoned sweets for that ideal sweet and salty bite. Inspired by Tosi’s “Compost Cookie (R)”, I started adding pretzels, potato chips sticks and corn flakes to my squares. The result is a more grown-up flavour but the same familiar taste of my mom’s Rice Krispie Squares. Enjoy!


Ultimate Rice Krispie Squares

15 minutes, 20 minutes to cool

Pro-tip: the first 3 ingredients you can buy at the Bulk Barn or your local bulk store, rather than buying full packages

Ingredients

1 cup salted pretzels sticks

1.5 cups potato chip sticks

2 cups corn flakes

5.5 cups Rice Krispies

½ cup butter, unsalted (if using salted, do not add kosher salt)

1 tsp kosher salt

~55 marshmallows (about one large bag)

1 tsp vanilla extract

¾ cup semi-sweet chocolate chips

1/3 cup Skor toffee bits


Method

  1. Prepare a 11 x 17 pan by greasing generously with butter.

  2. Mix together the first three ingredients (pretzels, potato sticks, corn flakes), crushing with your hands to make them smaller pieces (but not dust). Add in Rice Krispies and stir until uniformly mixed.

  3. In a large bowl, melt the butter in microwave*. Add in the kosher salt.

  4. Add in marshmallows and microwave in 30 second intervals until marshmallows have puffed up / are melty and can be stirred to incorporate into butter. Stir in vanilla extract and continue to stir until smooth. Be ready to move quickly to step 5 otherwise your marshmallow mixture will harden.

  5. Moving quickly, stir in dry ingredient mixture to the marshmallow sauce until fully coated. Add in the chocolate chips and skor bites last to prevent too much melting, folding until uniformly mixed.

  6. Press into the prepared pan (coat your hands with butter so the mixture does not stick to your hands, or use a piece of parchment paper to press down).

  7. Refrigerate until hardened. Store in fridge for up to 5 days.

*If you’re like me and somehow have reached adulthood without a microwave safe mixing bowl, you can also do this on the stove top. Start by melting the butter over medium heat, and then keep a very close eye when you add in the marshmallows. Stir often once the marshmallows are in to prevent sticking - remove from heat once it becomes smooth and uniform, before adding in the vanilla.