
Rhubarb season is definitely one of the most magical times of the year. I am a sucker for a sour sweet treat, and rhubarb is exactly that. Growing up my two favourite rhubarb recipes were my grandmother’s (I called her Nanny) - her rhubarb-strawberry jam and her rhubarb muffins. I’ve been hitting up the local farmer’s market the last few weekends and rhubarb is in full swing. I texted my mom for Nanny’s recipe a few weeks back and wanted to share it with you all so you can take advantage of this wonderful season. These muffins are on the smaller side and, in my opinion, best served in pairs - perfect with an afternoon tea!
Note on recipe origins: this was found in my late grandmother’s recipe box but it was pretty common to pass along recipes from word of mouth or copied out from magazines back in the day. I’m not sure where she got this recipe from and take no credit for the recipe development. My intention is to share some of my favourite memories of her cooking with you.
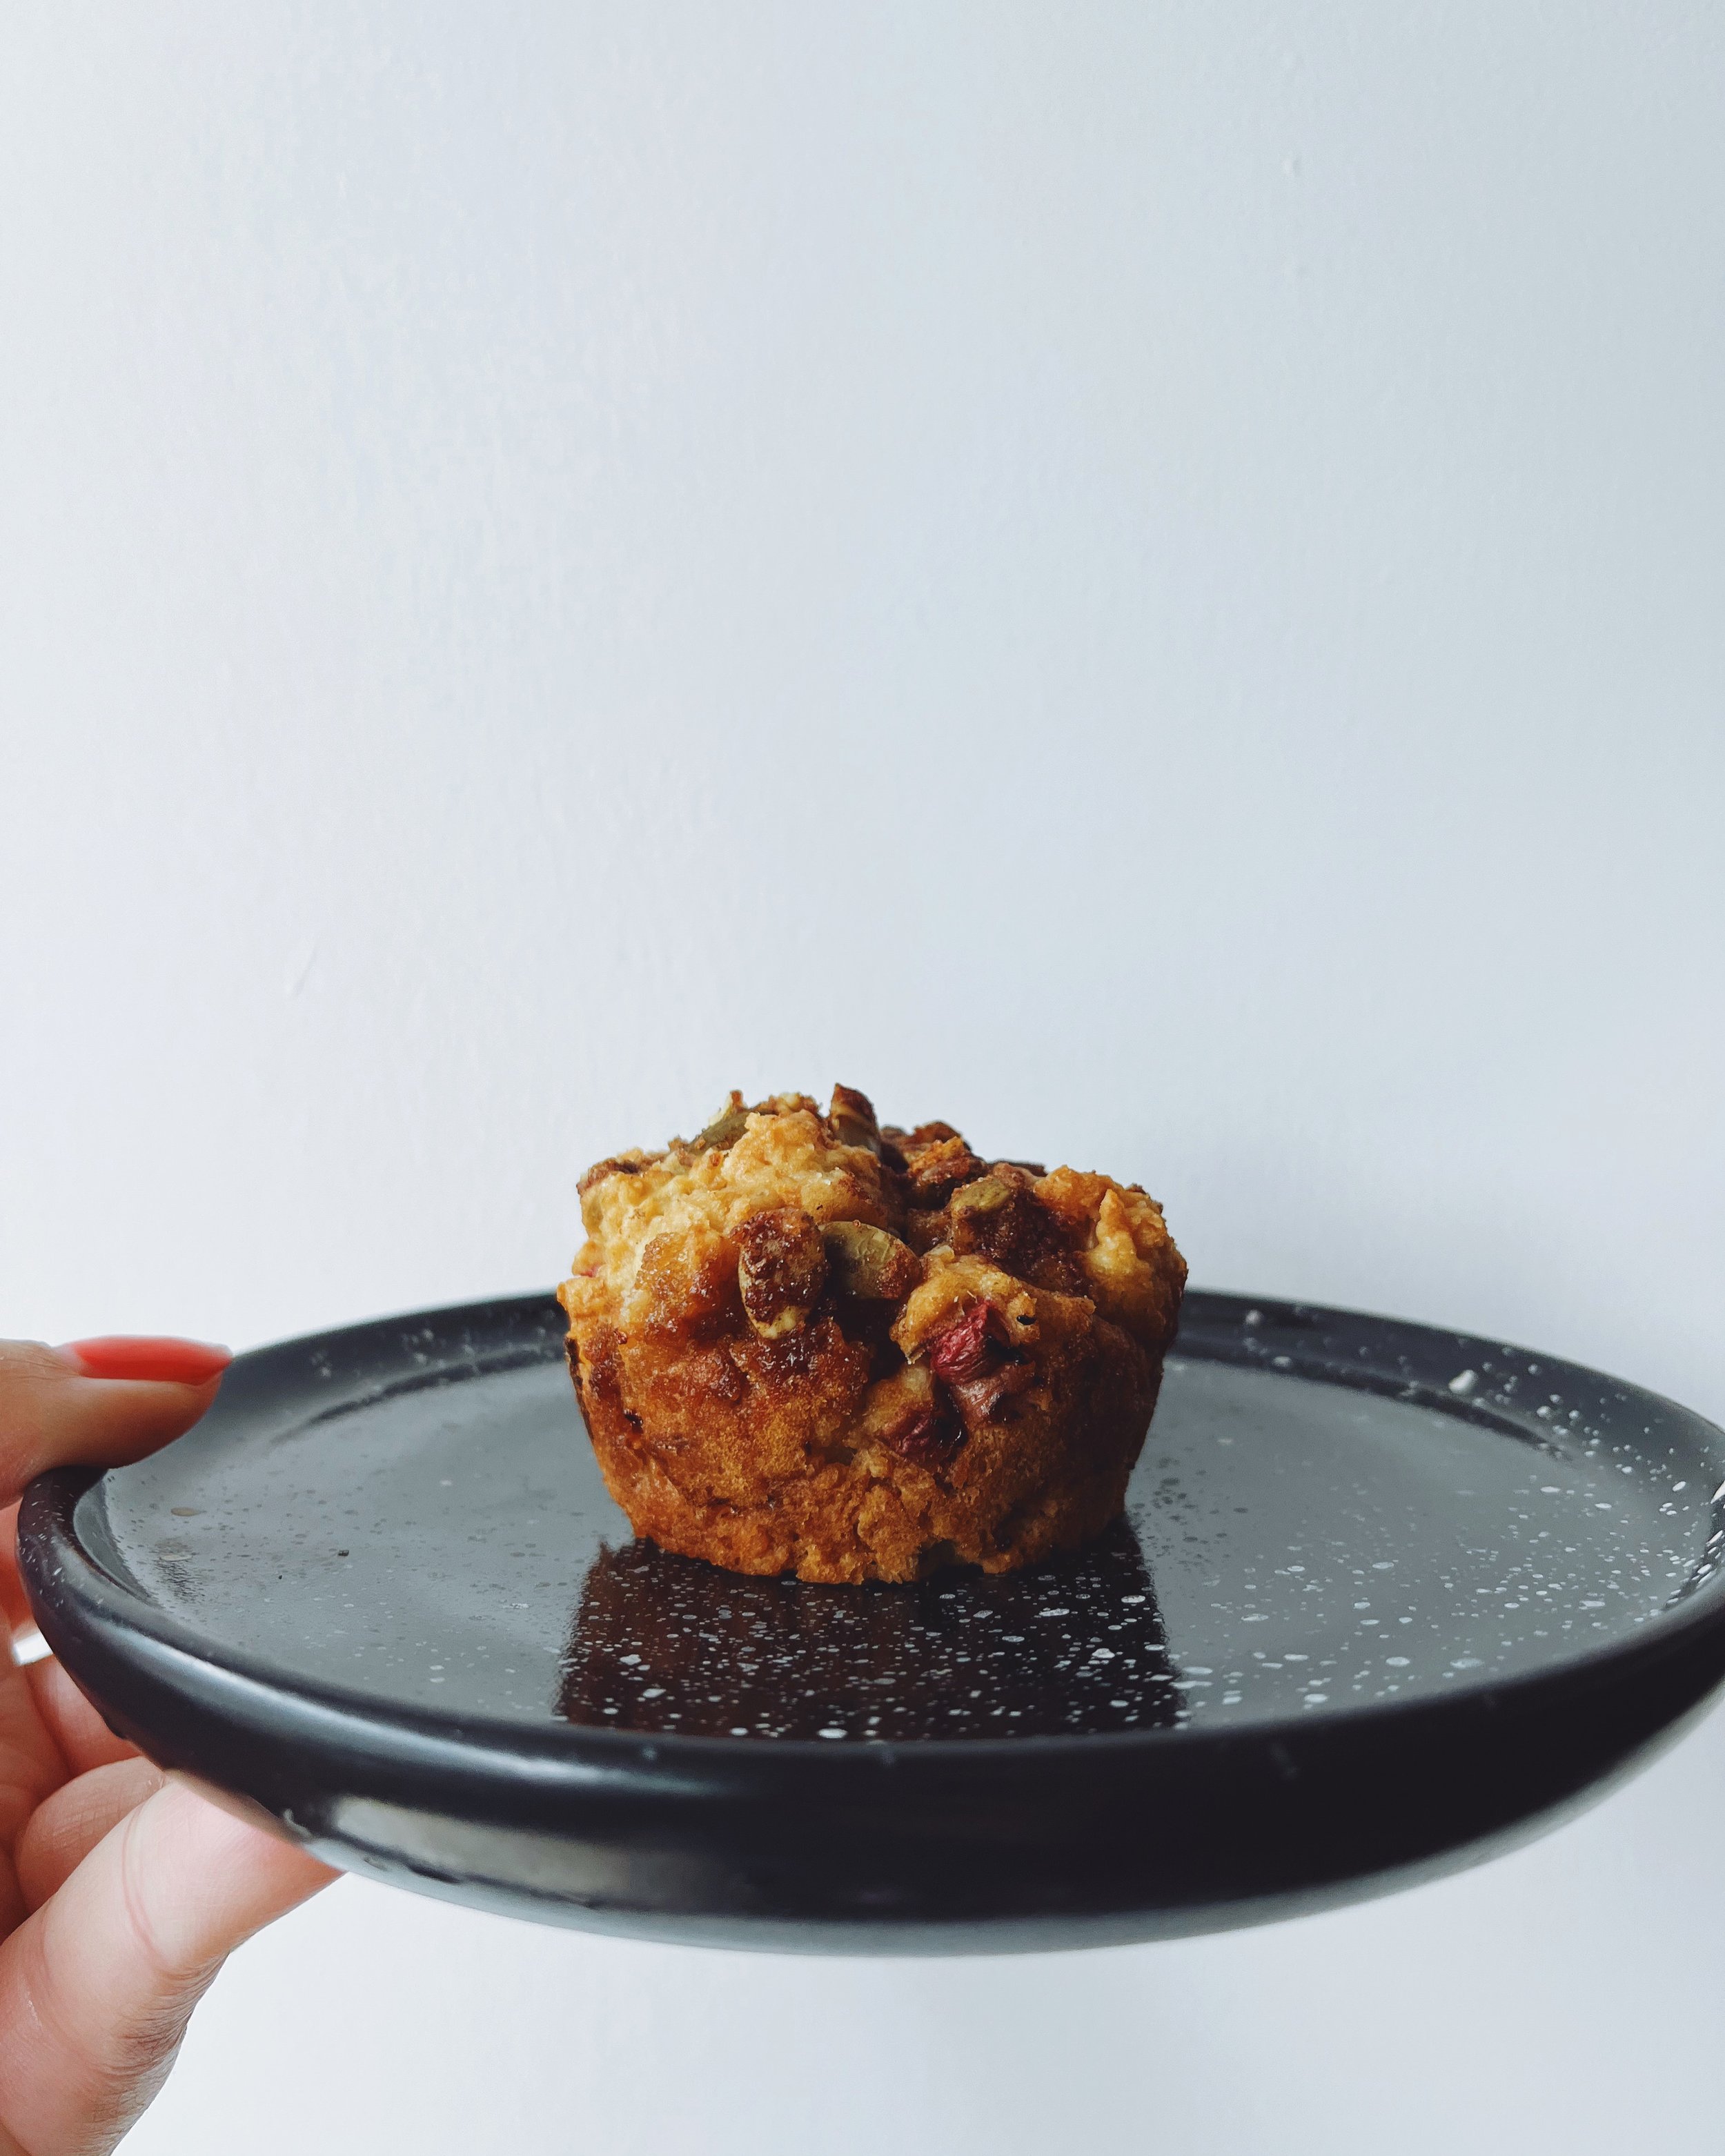
Nanny's Cinnamon Streusel Rhubarb Muffins
Makes 12 muffins
45 mins including bake time
Ingredients:
Topping:
¼ cup brown sugar
¼ cup pepitas or any chopped nut (pecan, walnut or almond would work!)
½ tsp ground cinnamon
2 tbsp unsalted butter, room temp
¼ tsp kosher salt
Batter:
½ cup sour cream (ideally full fat, 14% m.f)
¼ cup vegetable oil (or other neutral oil like grapeseed or avocado)
1 large egg
1 ⅓ cup all-purpose flour
⅔ cup brown sugar
½ tsp baking soda
¼ tsp kosher salt
1 cup diced rhubarb
Method:
Preheat oven to 400F.
Prep a muffin tin with muffin tin liners or grease with cooking spray or neutral oil.
In a small mixing bowl mix your topping ingredients and set aside. You may need to use your (clean!) fingers to work the butter into the dry ingredients - it should resemble wet sand.
In a large mixing bowl, mix your wet ingredients (sour cream, oil, and egg) into a homogenous mixture.
Combine your dry ingredients in a separate medium bowl and add in your diced rhubarb. Add to your wet ingredients and fold in until no dry spots exist.
Evenly divide the batter in the muffin tin. Note: these are smaller muffins so the batter will likely only come up ⅔ of the tin.
Sprinkle the topping mixture on top of the muffins - evenly dividing between them.
Bake for 20-25 mins - cake tester should come out clean. Cool before serving.


