This bread was developed out of my love for pumpkin flavoured sweets but with the aspiration of avoiding the sugar crash of traditional baked goods. My mom is a wizard of making homemade muffins and tweaking them to be a bit more wholesome (reducing butter and refined sugars, adding in seeds and nuts). I wouldn’t go as far to say this is a “healthy” bread but it definitely has a bit more oomph to it to keep you going throughout the day, rather than a quick sugar rush. Delicious as a snack or as a sweet treat with tea.


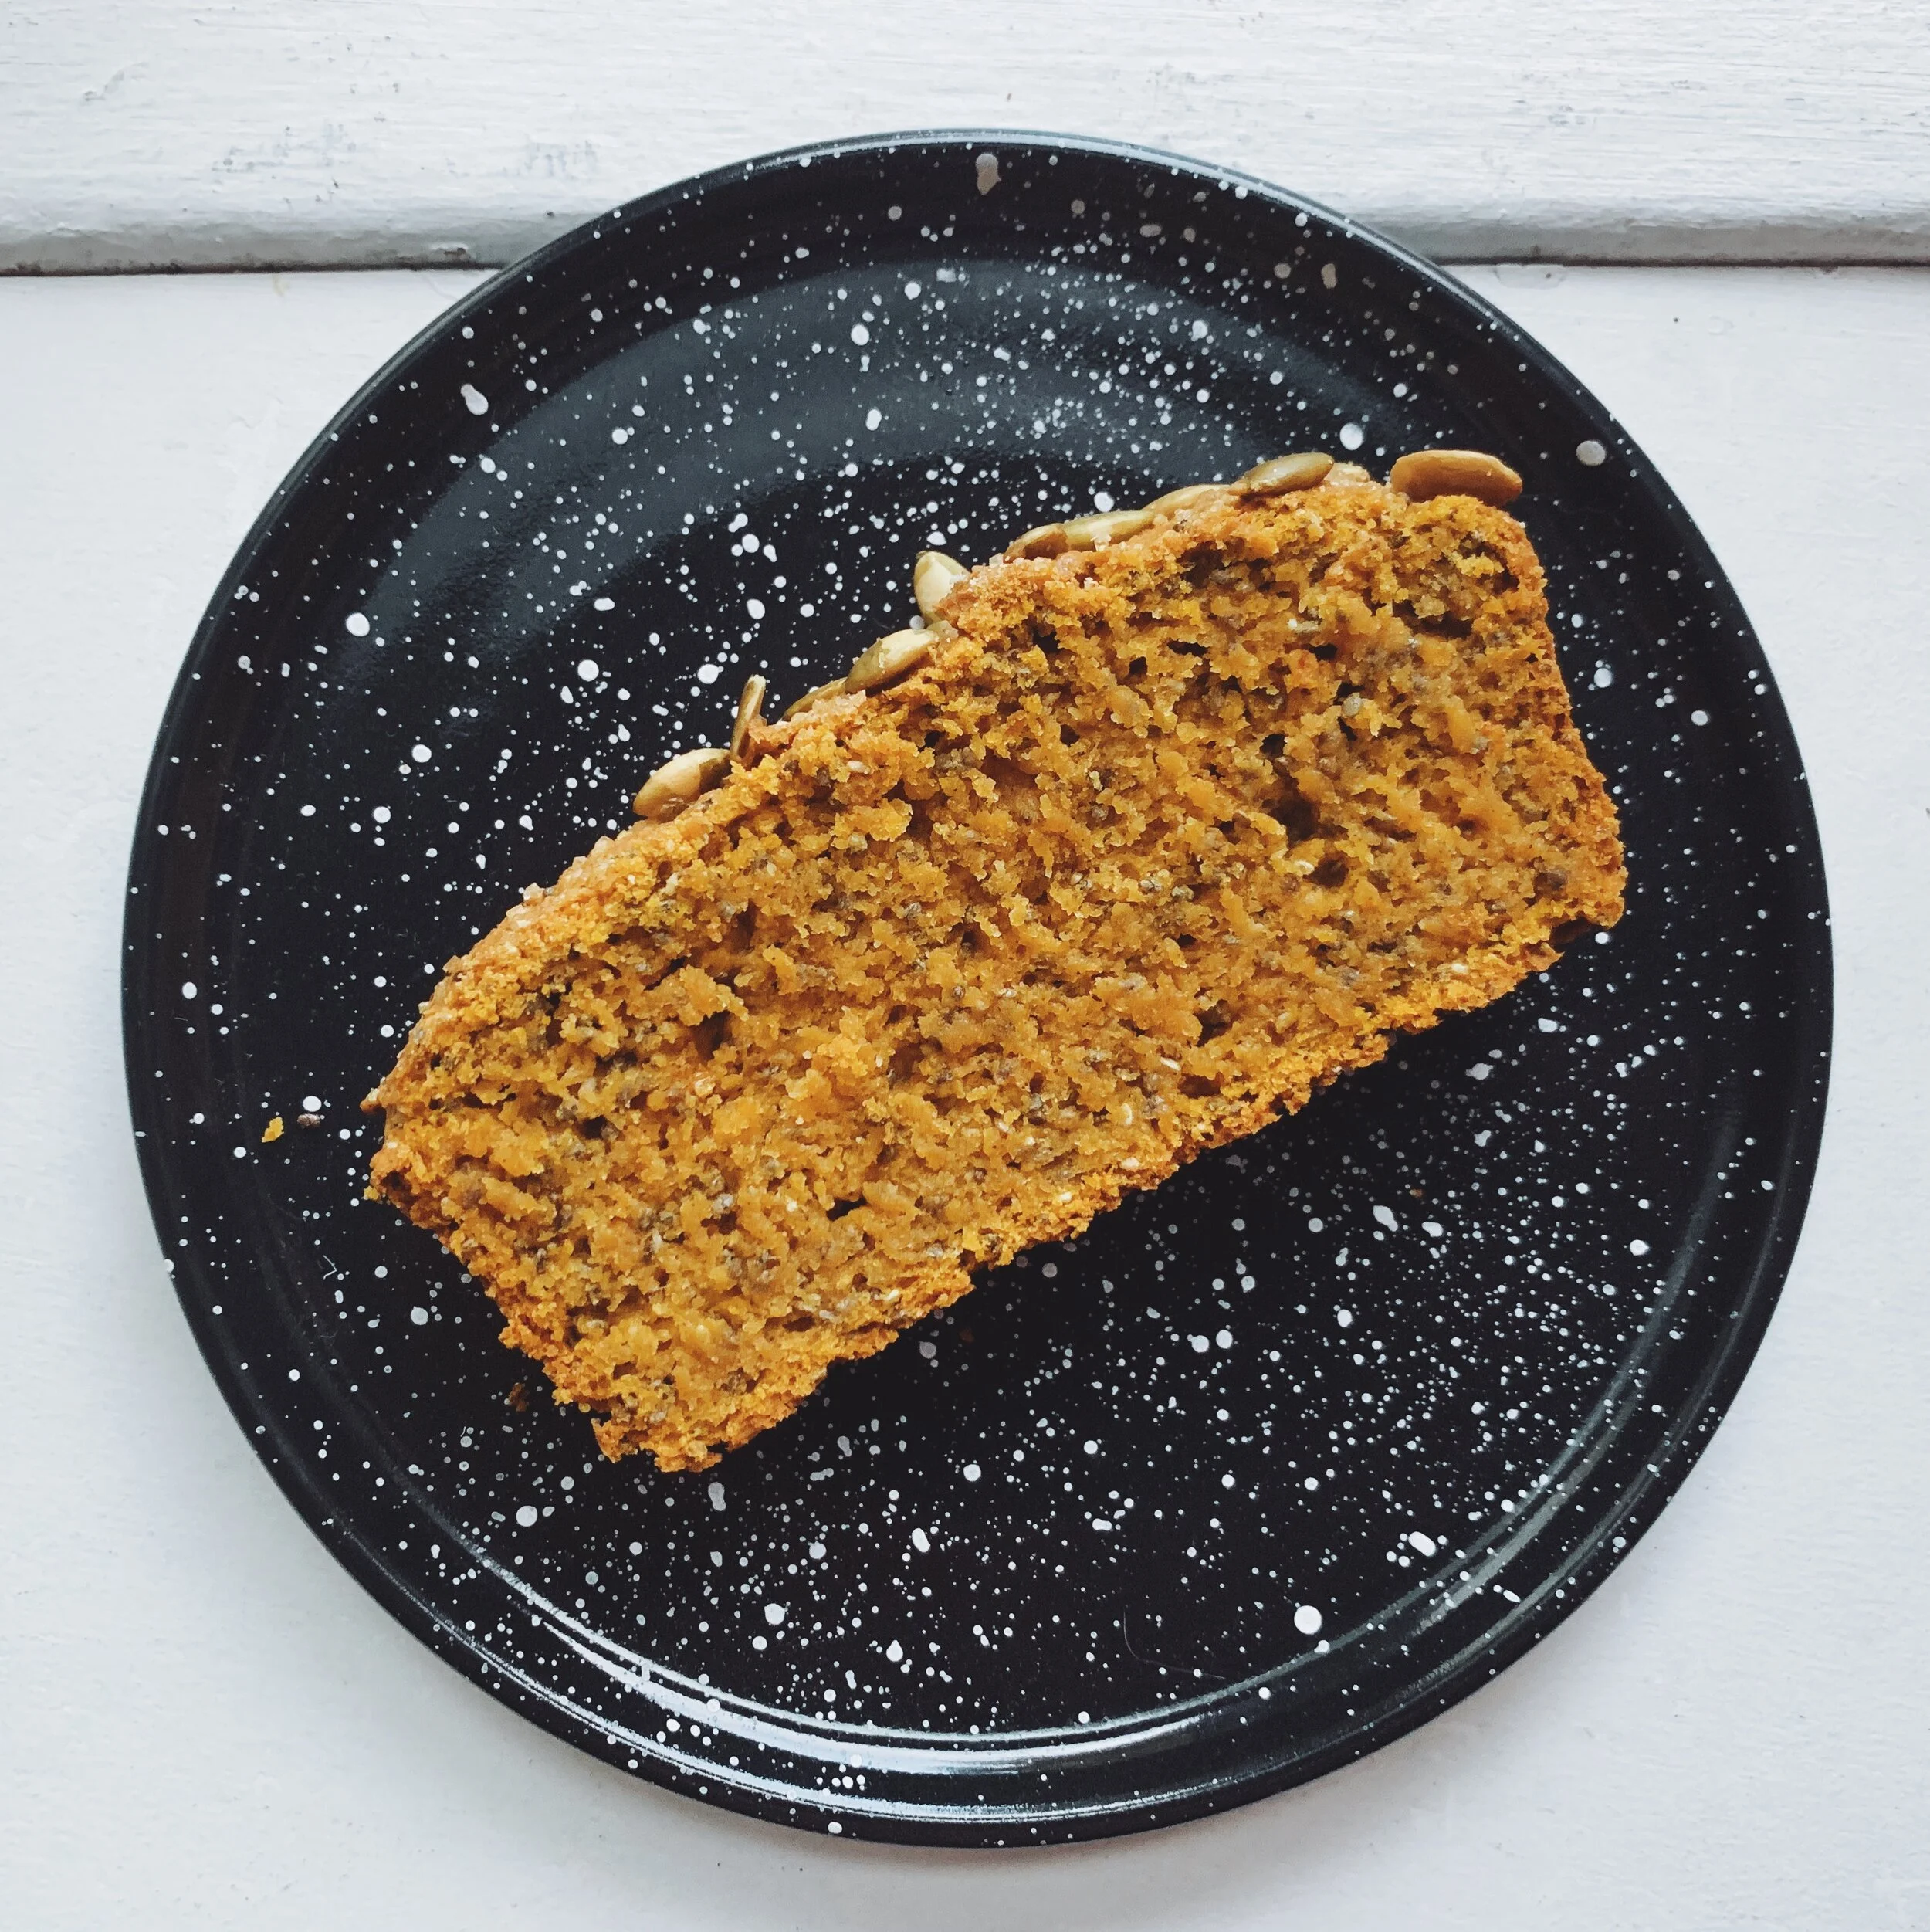
Pumpkin Chia Seed Snacking Bread
15 mins active work, 60 mins baking
Recipe updated September 21, 2020 - changed the baking powder, baking soda and almond flour measurements and increased the oven heat to help the bread rise and create a less dense texture!
Ingredients
1 1/4 cups of pumpkin puree (canned)
⅓ cup maple syrup
1 egg
¼ cup of coconut oil, melted
1 tsp vanilla extract
1 cup all-purpose flour
½ cup almond flour
⅓ cup chia seeds
¾ tsp baking powder
1 tsp baking soda
1 tsp kosher salt
½ tsp cinnamon
¼ tsp ground nutmeg
Optional topping:
1 tbsp of sugar (preferably raw sugar or turbinado sugar - larger granules)
2 tbsp of pepitas (or other nut/seed - pecans, sliced almonds, sunflower seeds etc)
Method:
Preheat oven to 425F. Prepare a loaf pan with a parchment paper “hammock” - the paper should line the bottom and the long sides.
In a large bowl, whisk together all of the wet ingredients (pumpkin puree, maple syrup, egg, coconut oil, vanilla)
In a medium bowl, combine the dry ingredients and whisk to get rid of the clumps of almond flour (AP flour, almond flour, chia seeds, baking powder, baking soda, salt, cinnamon and nutmeg)
Pour the dry ingredients into the large bowl with the wet ingredients and gently fold in until fully incorporated. You don't want to overmix but you also want to ensure there are no dry patches of flour.
Pour into prepared loaf pan. You made need to spread it around to ensure it is even in the pan.
Sprinkle the top of the batter with your seed of choice, and sugar if desired.
Bake for 5 mins at 425F and then lower the heat to 375F. Bake for 55 mins. The loaf should be fragrant, and a cake tester comes out clean. You shouldn’t feel much resistance when you push the cake tester in and pull it out. If you feel resistance, leave it in for 5-10 more mins.
Cool on a rack for 30-60 mins until fully cooled.
Best served the day of but can be stored on the counter for 2-3 days or in the fridge for up to 4- 5 days. Tastes delicious toasted the next day!