party food

Bean and Corn Dip

This recipe is far from original - if you google “Texas Caviar” or “Cowboy Caviar” you’ll find tons of recipes for a similar dip. I first had this when my roommate back in 2014 made it for her sister’s birthday (hi Renee!). I am such a sucker for “fresh” appetizers at parties - veggie trays, anything with cucumber, salad rolls, etc. I think it’s because I’m always slightly dehydrated? Appetizers with lots of fresh flavour I gravitate towards. I remember the night I first tried this I kept going back for more. It’s tangy, fresh, and slightly addictive. I’ve been making versions of this recipe ever since and it’s always such a hit. It also keeps for 4-5 days in the fridge, and IMO gets better with time as the flavours sit together. I love it for lunches with tortilla chips, on top of a taco salad, or in wraps. It is also so great for summer parties because the frozen corn kind of cools it from within. I hope you enjoy this tasty bean dip for your next get-together!


Tips

Small Dice Your Veggies for Optimal Dipping Experience

This dip is great scooped up with tortilla chips so you want to make sure your veggie pieces are small enough so you get lots of variety in each bite.

Frozen Corn

I personally just like to add the corn frozen straight into the dip, and then let it thaw once mixed. I find it doesn’t take time to thaw and it keeps everything else a little cool while it sits at room temperature. If you are making this right before serving, you could cook the frozen corn according to the package and then let it cool to room temp before mixing with everything else. 

Dicing Tomatoes

I like to remove the seeds so the dip isn’t too ‘soupy’. To do this I cut the tomato into quarters and use a spoon to scoop out the watery seed parts. I then dice the flesh of the tomato.

Bean Substitutions

I have accidentally made this dip with chickpeas, kidney beans, and white beans (I have trouble reading bean can labels). All turned out great! I think any canned bean works here.

Storing

This keeps well in the fridge for 4-5 days in an airtight container. I sometimes make this the day before serving so it marinates overnight.

All the veggies chopped pre-mixing!


Bean and Corn Dip

Good for a crowd, 20 min prep

Ingredients:

1 can black beans, drained and rinsed

1 can lentils, drained and rinsed

1 cup frozen corn

2-3 medium tomatoes, fine diced (I like to remove the seeds so it’s not too soupy but you don’t have to fuss about this)

1 pepper (red, orange, yellow, green - whichever colour you prefer), fine diced

3-4 green onions, green parts thinly sliced

¼ cup apple cider vinegar

2 limes, juiced

¼ cup olive oil

¼ tsp kosher salt

Pinch of each ground cumin, garlic powder, chilli powder (adjust to taste)

A few shakes of tabasco or other hot sauce

Optional: a squeeze of honey or maple syrup

Optional: handful of fresh cilantro, diced

Method:

  1. In a large bowl combine your drained and rinsed beans and lentils, frozen corn and chopped veggies (tomato, pepper, green onion).

  2. In a small bowl or mason jar, combine your apple cider vinegar, lime juice, olive oil, salt, spices and hot sauce. Whisk well to emulsify (or if using a mason jar, seal tightly and shake). 

  3. Pour over your bean mixture and mix well to combine. If using cilantro, add it in. 

  4. Taste - does it taste good, like you need to take another bite? If not, you may need a pinch more salt. Does it need more spice? Add more tabasco. Need a little more sweetness? You could add a drizzle of honey or maple syrup, or add in more frozen corn!

  5. Serve with tortilla chips!

Sweet and Spicy Cheeseball

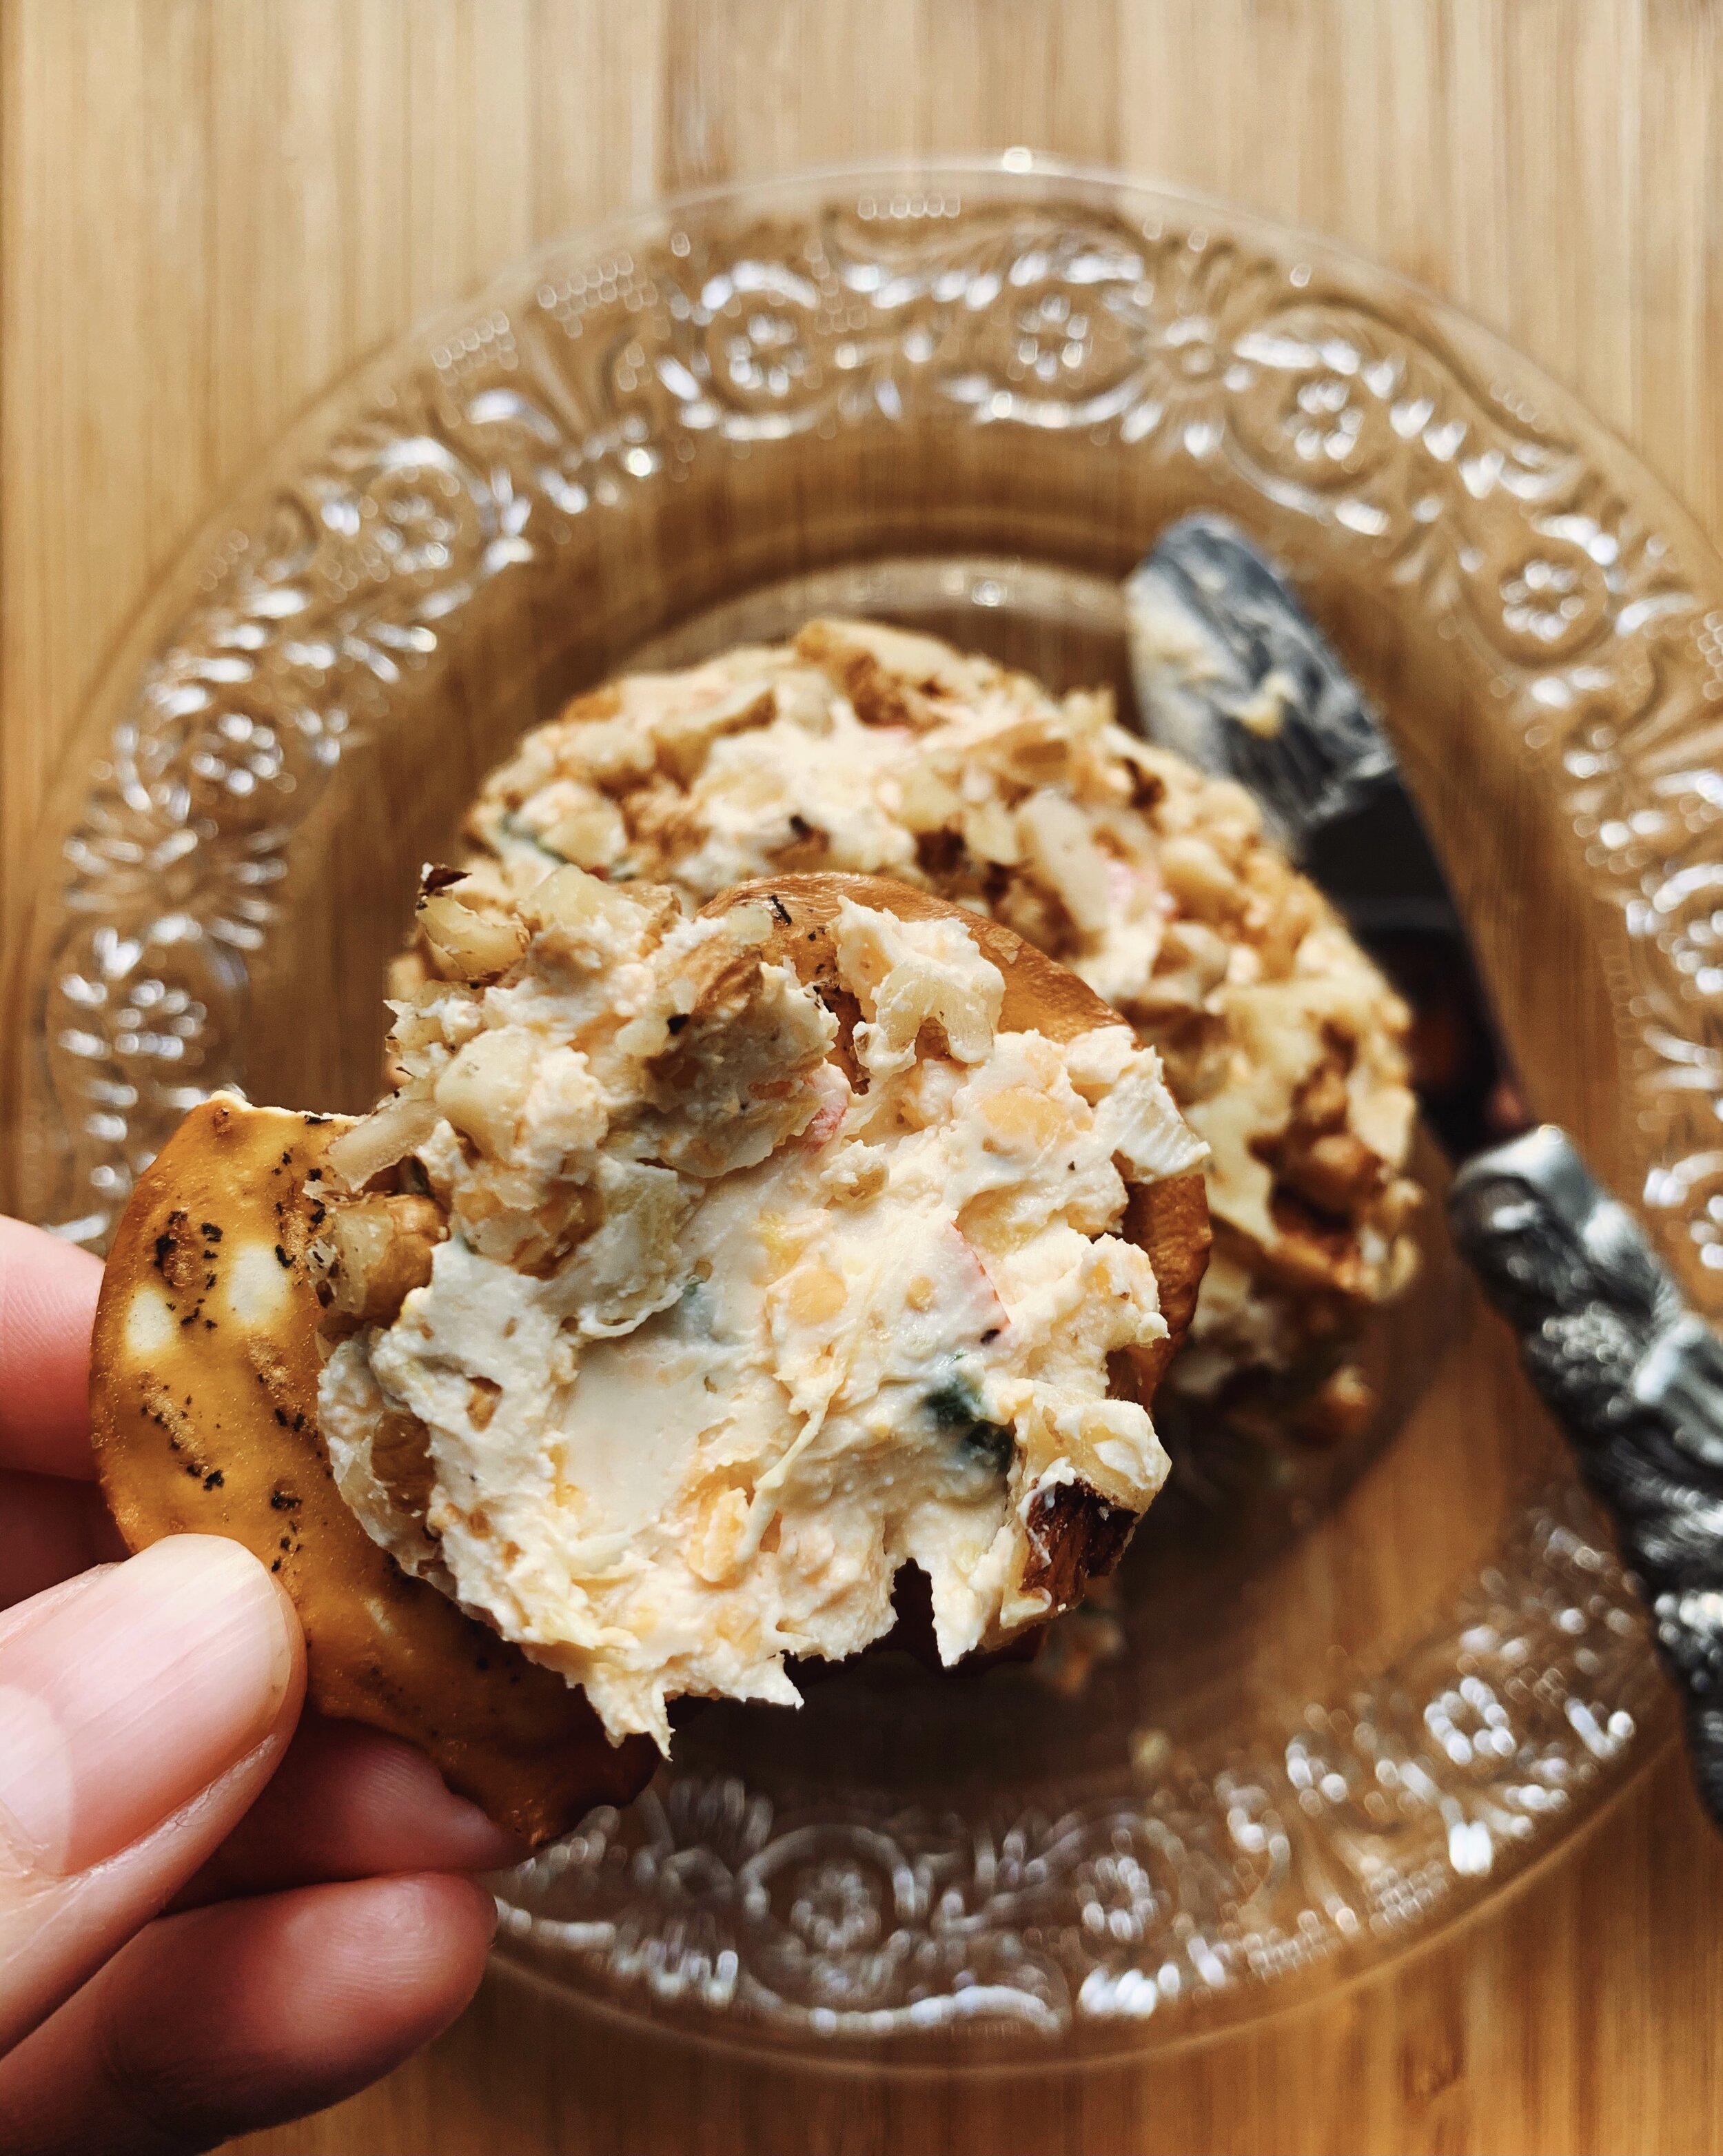
Cheeseball spread onto cracker with plate in background


I feel like the official sign of the holiday season is when cream cheese goes on sale at the grocery store. So many recipes growing up started with cream cheese - this cheeseball being my favourite. I have such a natural sweet tooth so I love how this recipe has the sweetness from the pineapple balanced with the tang and spice of the other ingredients. If you have pineapple-adverse people in your life, do not fret! It doesn't taste *like pineapple* - since you use crushed pineapple, it evenly distributes into the mixture to add subtle sweetness throughout vs straight-up pineapple flavour. The green onion adds savouriness, the red pepper adds some bite, and the Worcestershire sauce adds the tang. Tabasco is the final piece to bring this together with a lingering heat that makes you want to come back for more. 

After much testing, I’ve determined that this does in fact freeze! If it’s just you and your household this holiday season, stock your freezer with mini-cheeseballs for a special night in treat.


About the ingredients

Canned crushed pineapple

You want to make sure you are draining the pineapple super well before mixing into the cheeseball, otherwise you’ll have more of a spread instead of a firm cheese ball*. To drain, you can use a fine-mesh strainer and press on the pineapple with a spoon to push out the extra liquid, or you can put it in cheesecloth or a clean kitchen towel and squeeze out the liquid.

*Honestly, making a spread instead of forming into a cheeseball is a delicious, easier alternative. Sometimes I just put the “cheeseball” mixture in a bowl and call it a “spread”. 


Cream cheese

I buy the blocks of cream cheese to ensure the cheese ball can firm up. The spreadable cream cheese also works but you will have trouble keeping its shape. Again, the worst-case scenario is you make a “cheese ball spread” that you top with nuts, which honestly is a pretty delicious worst-case scenario.


Cheese

Make sure you choose a cheddar cheese with some oomph to it, like old cheddar. You want your cheese to add flavour and bite to balance the pineapple.


Nuts for the coating

I use whatever tree nuts (read: anything but peanuts) on hand to coat the outside. If you feel like adding an extra layer of flavour, you can toast your nuts before chopping them. I prefer to toast nuts in the oven (350F for 5-8 mins - when they smell toasty they are done!) to avoid burning. Anytime I toast nuts on the stove I inevitably forget about them and burn them.


How to store:

In the fridge: 

The cheeseball will be good in the fridge for 3-5 days. I prefer to wait to do the coating so it doesn’t get soggy, so I store it in the fridge tightly wrapped in saran wrap until just before serving. You could do the coating an hour before serving, place it on your serving plate, and loosely cover it with saran wrap to save you from having a mess when guests arrive!


To freeze:

This cheeseball freezes well which is truly a dream! You can make the cheeseballs well ahead of time and then just take them out of the freezer the morning of. Because of the pineapple, there might be a little bit of liquid in the saran wrap when it defrosts. That’s ok! Once you toss it in the nuts this extra liquid will get absorbed. Plus, if you properly drain and squeeze out the liquid from the pineapple, you shouldn’t have too many issues.

To defrost on the counter: it will take about 2 hours at room temperature to defrost. You can then store it in the fridge until ready to serve!

Cheeseball ingredients in bowl before being mixed

Sweet and Spicy Cheeseball

Yields 2-4 cheeseballs, depending on size

3 hours needed for prep to serving, only 20 mins of active work


Ingredients:

2 packs cream cheese, room temperature

1.5 cups old cheddar cheese, shredded and lightly packed

1 tbsp worcestershire sauce

2 green onions, small dice, to yield ¼ cup 

½ red pepper, small dice, to yield ½ cup 

½ cup canned crushed pineapple, well drained

½ tsp onion powder 

½ tsp garlic powder  

1-2 tsp tabasco, or other vinegar based hot sauce (1 tsp is lightly spiced, 2 tsp has some kick - anywhere in between is medium spice!)

½ cup chopped nuts of your choice (pecans, almonds, walnuts) per cheeseball - up to 1 ½ cups needed

Salt and pepper


Method:

  1. At least an hour before you start making your cheeseball, take your cream cheese out of the fridge! You want it to be truly room temperature, otherwise it will be difficult to properly mix it together.

  2. In a large bowl, combine your ingredients. Mix until well combined. I use a sturdy spatula to stir and mix together, but some people like to use an electric hand mixer. I find this breaks up the cheese a lot so I prefer to do it by hand.

  3. Once combined, divide into portions to make your cheeseballs. This year, I am making smaller versions since we are gathering in small groups but here are basic measurements:

    ¾ cup for small cheese ball - good for a gathering of 4 people, yields 3-4 cheeseballs

    1 cup for medium cheese ball - good for a gathering of 6-8 people, yields 2-3 cheese balls

    1.5 cups for large cheese ball - good for a gathering of 8+ people, yields 2ish cheeseballs

  4. I wrap the cheese ball tightly in saran wrap and let them set in the fridge for a minimum 1 hour before serving. If I’m saving for a future event, I freeze and then let it thaw on the counter the day of (more on this in the above article).

  5. Before serving, combine finely chopped nuts with a pinch of salt and good crack of pepper in a bowl. Toss the cheese ball in the coating and serve!


Candied Kumquats & the Perfect Cheeseboard

2E277941-1C12-4CAD-9D8B-E48414EFBB0D.JPG

I believe the first time I had candied kumquats was at Bier Mrkt of all places. My parents were visiting Toronto and we had stopped in there for a beer and a snack. On their meat and cheese board was this delicious sweet, tangy, and somewhat bitter jam. After this first taste, it has become my go-to condiment to elevate a cheeseboard.

When making a cheese and meat board I try to make sure I have the following flavours and textures covered:

  • Sweet - usually in the form of a jelly or jam, like these candied kumquats or fig jam

  • Salty - prosciutto, speck, or another salty cured meat

  • Spicy - genoa salami, chorizo, or another spicy cured meat

    • Or: hot pepper jelly (both sweet and spicy!)

  • Briny - pickles, olives

  • Smooth/creamy - goat cheese, Boursin

  • Hard - aged cheddar, manchego (my favourite cheese!)

  • Soft  - fresh sliced french bread or baguette

  • Crunchy - crisp crackers, nuts

Kumquats usually come into grocery stores in Canada in March/April and can be found in the citrus area of your grocery store.


4670A94F-E535-441F-92F8-EA7A4B5339C6.JPG
The kumquats pre-candy!

The kumquats pre-candy!


Candied Kumquats

15 minutes

Ingredients:

1 cup of kumquats, washed (up to 1.5 cups)

½ cup white sugar

¼ cup water

Method:

  1. Quarter your kumquats and remove any seeds

  2. Add to a small saucepan with sugar and water

  3. Bring to medium heat and stir until sugar dissolves

  4. Turn down to low heat and continue to simmer until the kumquats become translucent and the syrup has thickened (it will thicken more when it cools)

  5. Chill until ready to serve!