This recipe is influenced by all the delicious pinwheels/tortilla roll-ups I’ve eaten throughout my life. I feel like every holiday gathering growing up had some form of tortilla roll-up - whether it was a sweet version with cranberries or spicy like these. This is far from an original recipe, just simply my version of the very popular appetizer. I love these with the spice of the pickled jalapeno, freshness of the red pepper and savouriness of the green onion. You can play around with the ratios to get the perfect bite for you depending on how spicy you like your food. These are super easy to make and always go quickly at parties and gatherings.
A few tips:
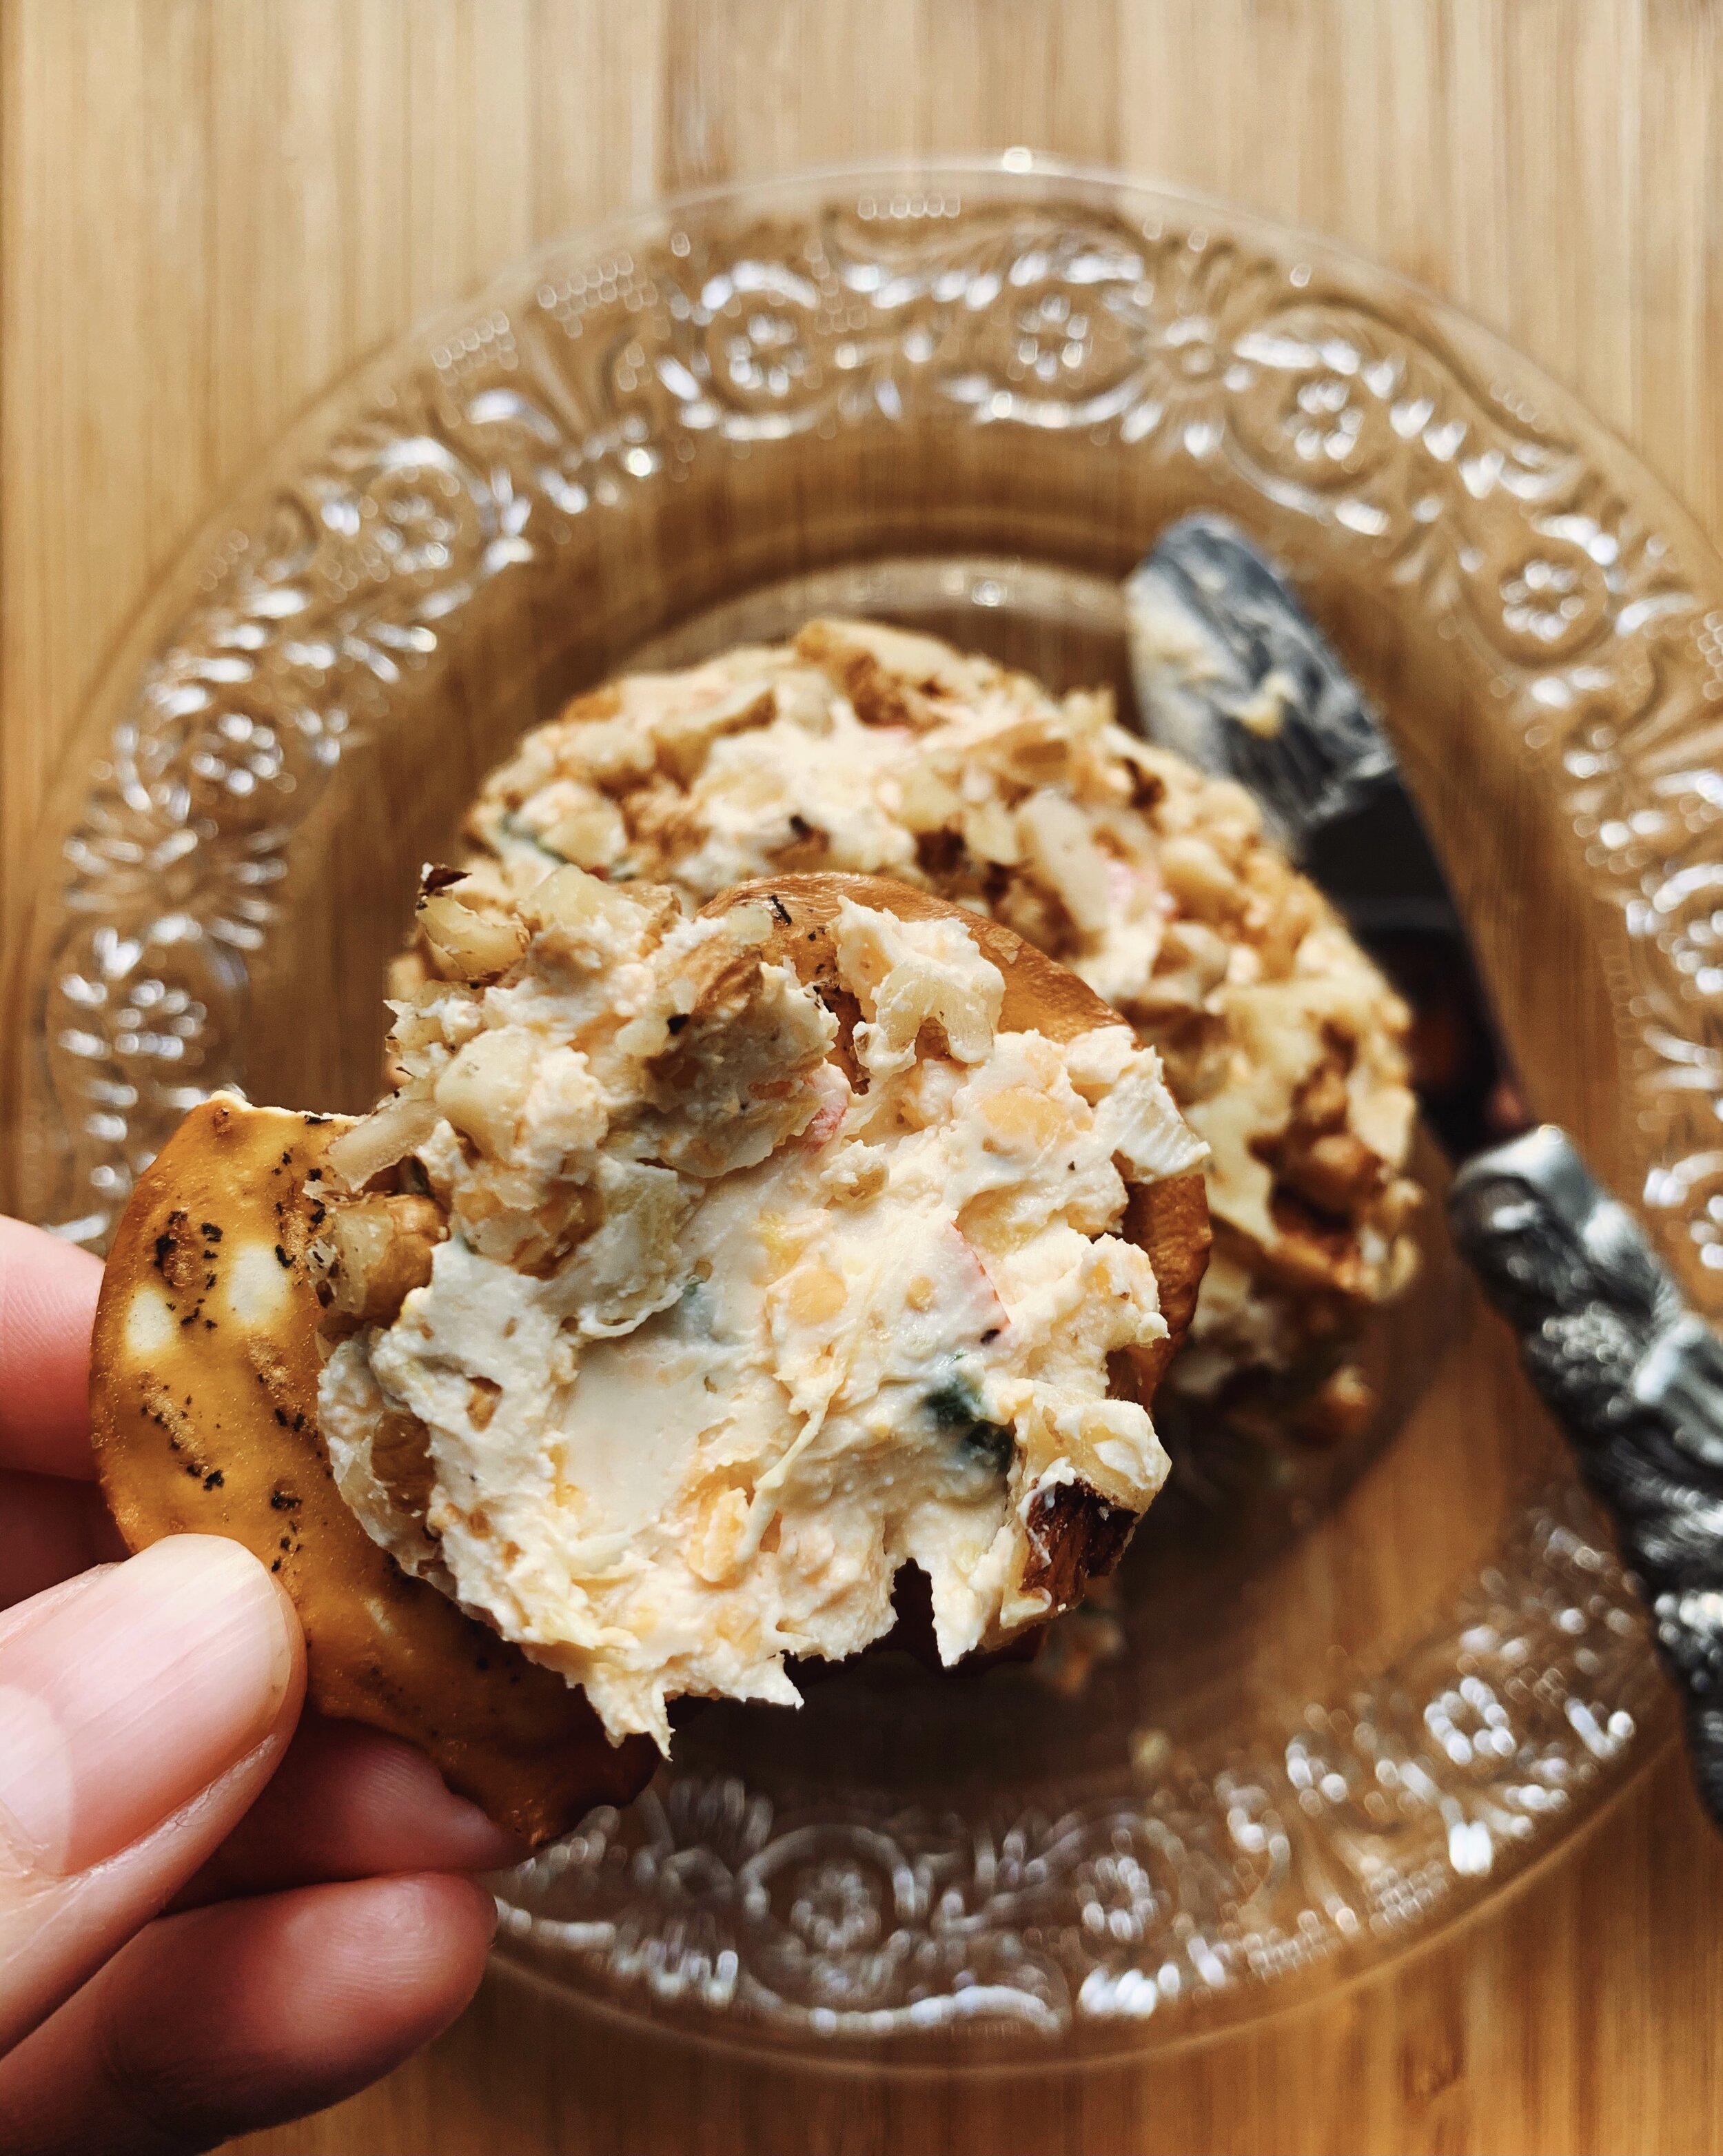
Cream Cheese
You can use either the spreadable cream cheese in the tub or the block of cream cheese, both work fine! If using the block, I would let it sit at room temperature for 30 mins to an hour to soften slightly, which will make it easier to mix.
Making Them Ahead of Time
A few options for prepping these ahead of time:
You can make the mixture up to 3 days ahead of time and refrigerate that, assembling them the day you are going to serve.
You can make the mixture and roll up the tortillas, refrigerating well wrapped 1 day ahead of time, then slicing to serve. I wouldn’t roll them up too much more than 1 day ahead of time because you don’t want any moisture getting into the flour tortilla and becoming soggy.
Tortilla Roll-Ups
Yields 4-6 tortillas x 6-8 bites per, ~36-48 bites!
Ingredients:
1 package of cream cheese - you can do either the hard block or the softer spreadable version
3 green onions, green parts finely diced
½ red pepper (or orange or yellow), finely diced
2-4 tbsp pickled jalapenos, drained and diced
1 cup old cheddar cheese, grated
1 package large flour tortillas (10”)
Pinch of salt and pepper
Method:
In a medium bowl combine the cream cheese, green onions, red pepper, pickled jalapeno and cheddar cheese in a bowl and mix together to combine. If easier, you can use an electric hand mixer to mix everything together. Sometimes I use a little bit of the jalapeno liquid to loosen up the mixture - you want it to be spreadable!
Take a taste and adjust - I personally like them medium spicy but you can always add more jalapeno. Season with salt and pepper if needed.
After it’s all mixed together, scoop a scant 1/4 cup and spread thinly onto a tortilla, trying to get as close to the edges as possible. Roll tightly. I sometimes have to add a little of the mixture to the top edge to have it close well.
You can store them rolled in the fridge covered in plastic wrap and then slice them into 1.5 cm rounds when ready to serve. The ends make for a great *chef snack*.