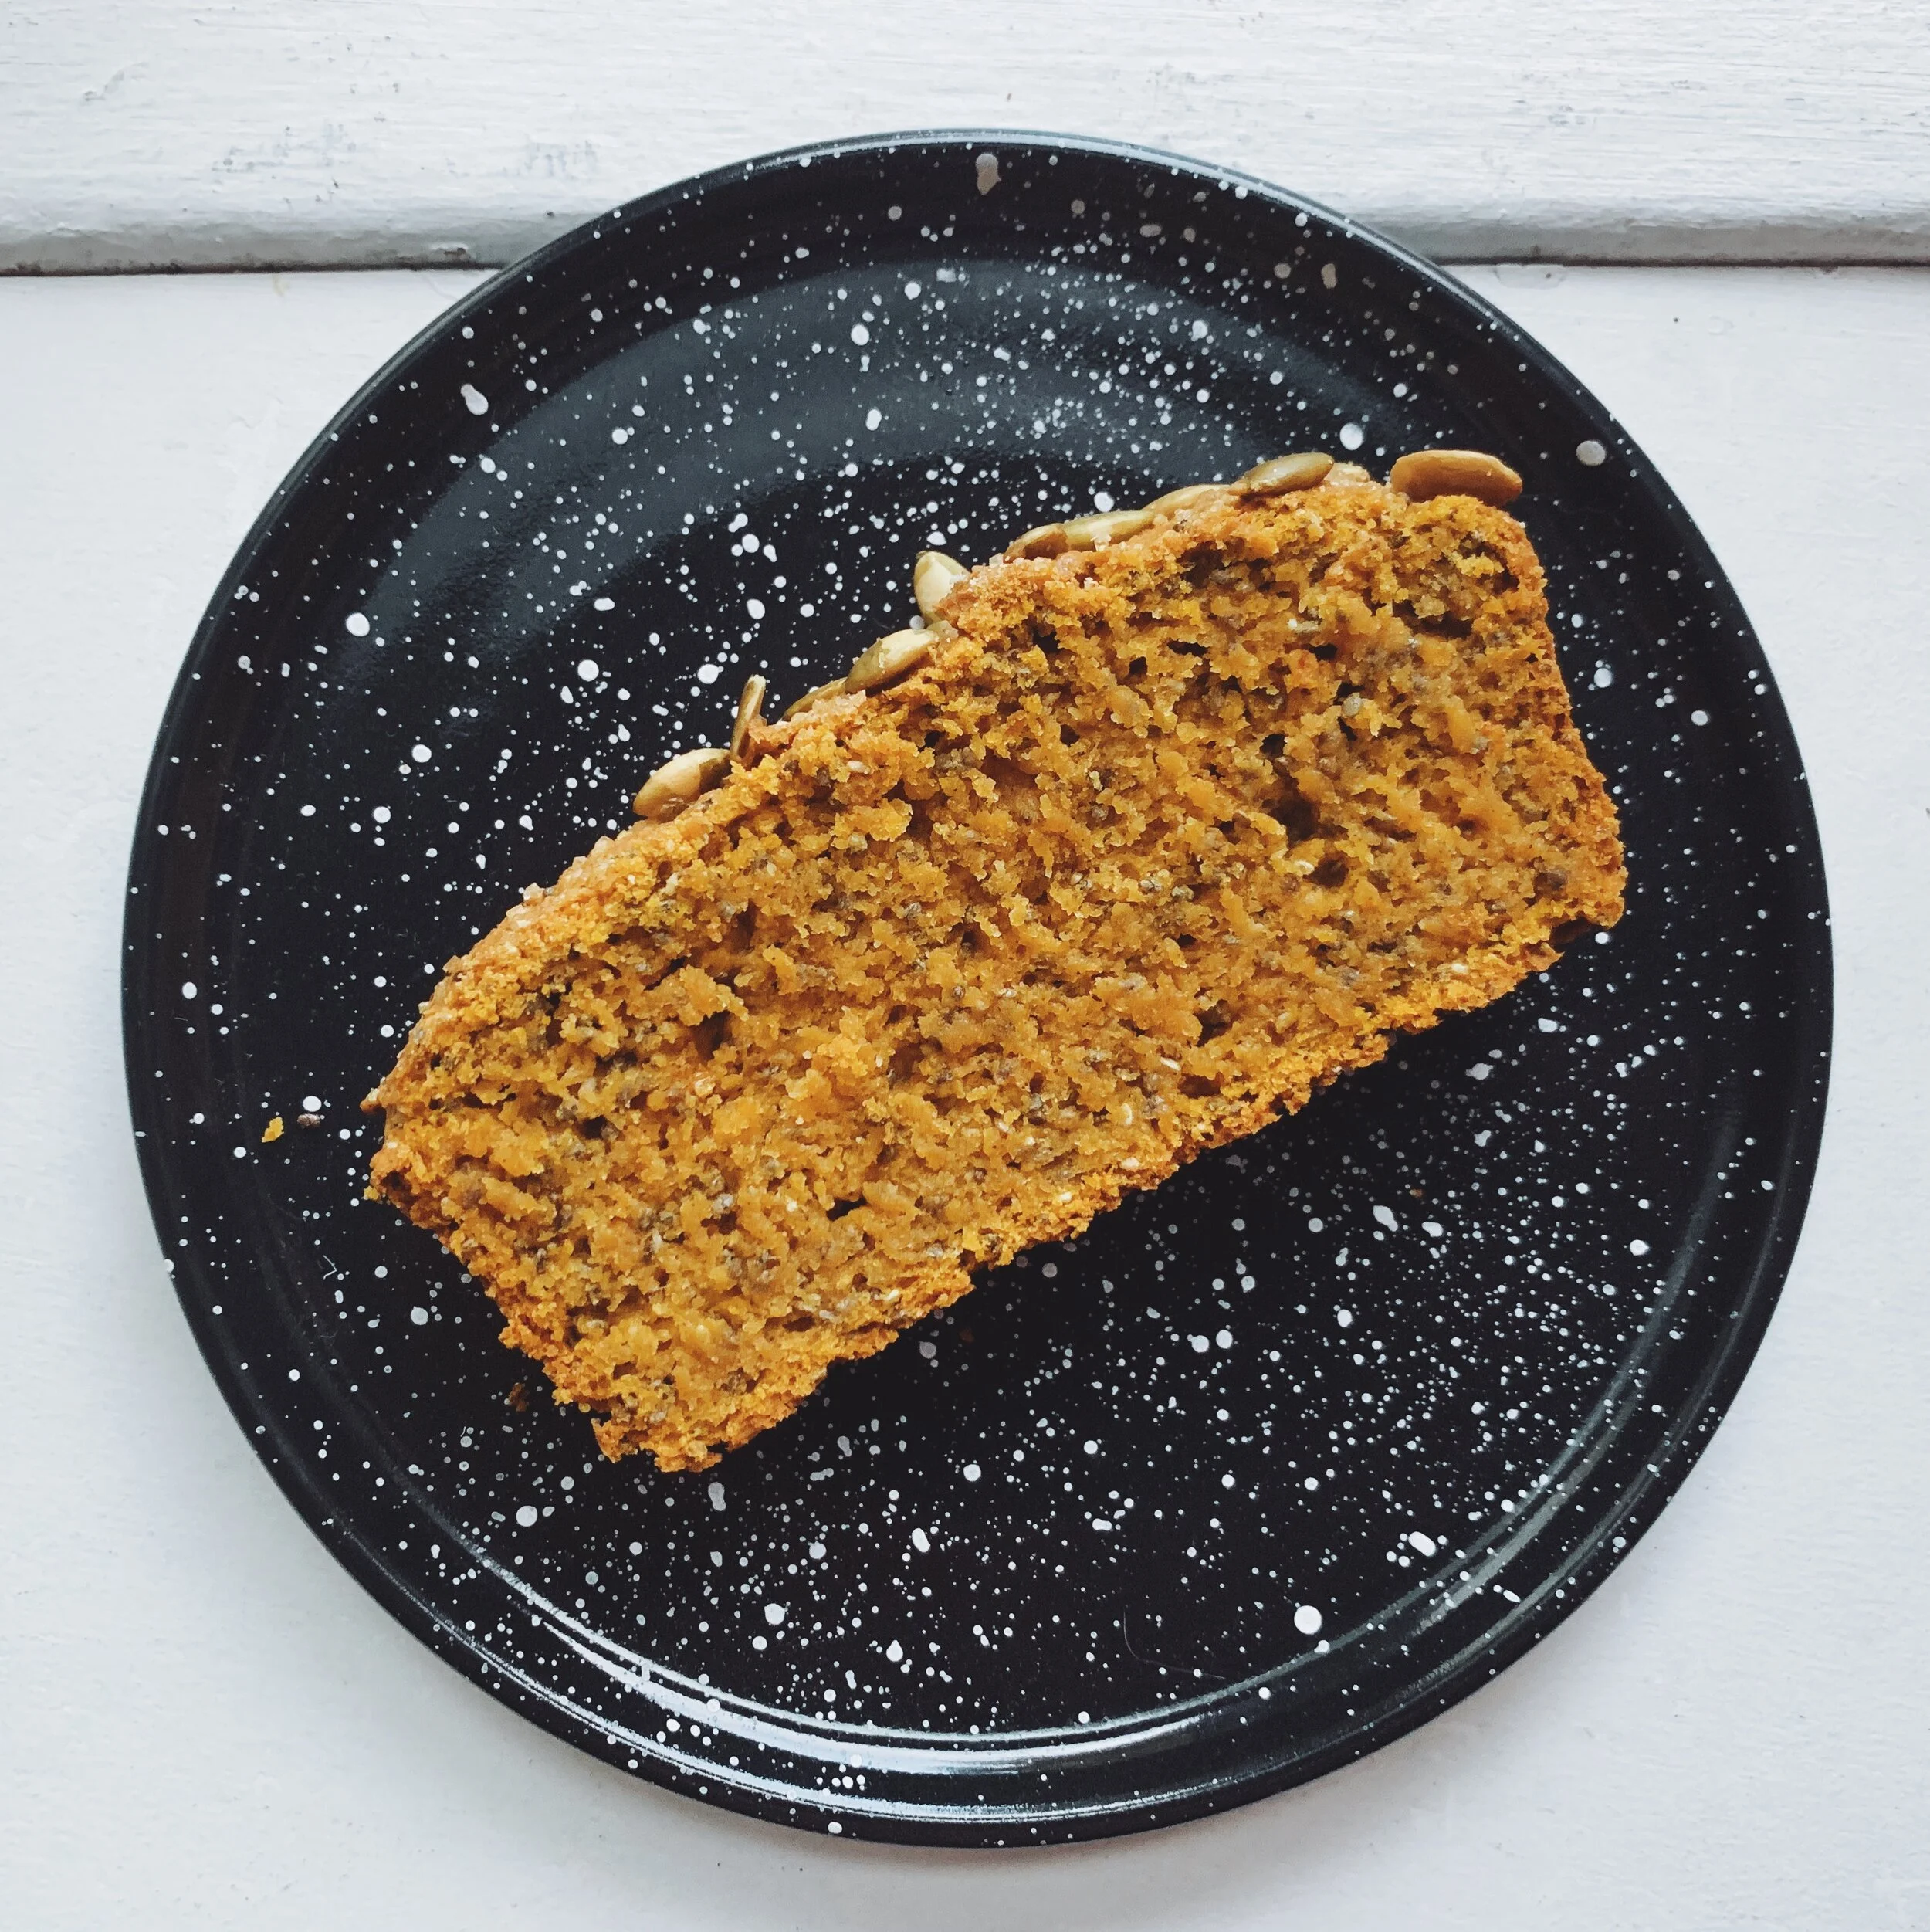
Pumpkin Chia Seed Snacking Bread

6E5A04A7-43E6-4E57-8410-E9DCCB22092D.JPG

This bread was developed out of my love for pumpkin flavoured sweets but with the aspiration of avoiding the sugar crash of traditional baked goods. My mom is a wizard of making homemade muffins and tweaking them to be a bit more wholesome (reducing butter and refined sugars, adding in seeds and nuts). I wouldn’t go as far to say this is a “healthy” bread but it definitely has a bit more oomph to it to keep you going throughout the day, rather than a quick sugar rush. Delicious as a snack or as a sweet treat with tea. 

C56E059E-CA27-48C9-8182-0CAC4CA13849.JPG
2EAB8735-79BE-445E-A8C2-3F26FAEA04ED.JPG

Pumpkin Chia Seed Snacking Bread

15 mins active work, 60 mins baking

Recipe updated September 21, 2020 - changed the baking powder, baking soda and almond flour measurements and increased the oven heat to help the bread rise and create a less dense texture!

Ingredients

1 1/4 cups of pumpkin puree (canned)

⅓ cup maple syrup

1 egg

¼ cup of coconut oil, melted

1 tsp vanilla extract

1 cup all-purpose flour 

½ cup almond flour

⅓ cup chia seeds

¾ tsp baking powder

1 tsp baking soda

1 tsp kosher salt

½ tsp cinnamon

¼ tsp ground nutmeg

Optional topping:

1 tbsp of sugar (preferably raw sugar or turbinado sugar - larger granules)

2 tbsp of pepitas (or other nut/seed - pecans, sliced almonds, sunflower seeds etc)

Method:

  1. Preheat oven to 425F. Prepare a loaf pan with a parchment paper “hammock” - the paper should line the bottom and the long sides.

  2. In a large bowl, whisk together all of the wet ingredients (pumpkin puree, maple syrup, egg, coconut oil, vanilla)

  3. In a medium bowl, combine the dry ingredients and whisk to get rid of the clumps of almond flour (AP flour, almond flour, chia seeds, baking powder, baking soda, salt, cinnamon and nutmeg)

  4. Pour the dry ingredients into the large bowl with the wet ingredients and gently fold in until fully incorporated. You don't want to overmix but you also want to ensure there are no dry patches of flour.

  5. Pour into prepared loaf pan. You made need to spread it around to ensure it is even in the pan.

  6. Sprinkle the top of the batter with your seed of choice, and sugar if desired.

  7. Bake for 5 mins at 425F and then lower the heat to 375F. Bake for 55 mins. The loaf should be fragrant, and a cake tester comes out clean. You shouldn’t feel much resistance when you push the cake tester in and pull it out. If you feel resistance, leave it in for 5-10 more mins.

  8. Cool on a rack for 30-60 mins until fully cooled.

  9. Best served the day of but can be stored on the counter for 2-3 days or in the fridge for up to 4- 5 days. Tastes delicious toasted the next day!

Warm Potato Salad with Leek and Bacon

F1E225B8-5050-41C5-A7F7-40F9E4D7710C.JPG

I developed this recipe a few years ago when trying to think of a mayo alternative for potato salad. I have a few friends who do not like mayo based foods, and my paranoid #foodsafety makes me weary of white sauces in the summer. I wanted something that would taste delicious warm or room temperature without fear of illness. I had been playing around with mustard, apple cider vinegar and maple syrup for other salads and roasted vegetables, and thought the combination with bacon and leeks would make for a flavourful side. The result is zingy, savoury and hearty - the perfect sidekick to any BBQ this summer.


Warm Potato Salad with Leek and Bacon

30 mins total

Ingredients:

Dressing:

2 tbsp grainy mustard

½ cup apple cider vinegar

1 tbsp maple syrup

¼ tsp of kosher salt

¼ cup extra virgin olive oil

Salad:

2 bags of baby potatoes (3 lbs total)

2 leeks, white parts sliced (yields roughly 2 ½ cups sliced)

8-12 strips of bacon, preferably from a market or local butcher

¼ cup fresh parsley, roughly chopped

Salt and pepper to taste


The prep (you can do these three steps at the same time - mostly inactive cooking):

  1. Rinse the potatoes and place in a large pot and cover with water. Bring to a simmer and boil until potatoes are fork tender (about 15 minutes). Once cooked through, drain and set aside.

  2. Bake the bacon: this is my favourite way to cook bacon. Less mess and a more even cook. Preheat oven to 350F and place bacon onto a parchment paper lined cookie sheet in a single layer. Bake until the bacon is cooked and crisp - about 20 minutes. Remove from cookie sheet and place on paper towels. The bacon will crisp up more as it cools. Once cooled, chop into bite sized pieces and set aside.

  3. In a large bowl whisk together the grainy mustard, apple cider vinegar, maple syrup and kosher salt. Slowly pour in the oil while whisking until the vinaigrette is emulsified. Take ¼ cup of the vinaigrette out and set aside in a small bowl or mason jar.

The assembly:

  1. In a medium sized frying pan, add any bacon fat that pooled onto your cookie sheet while it baked. If there isn’t much, add about 1 tbsp of olive oil. Heat to medium. Add in your sliced leeks and cook gently until translucent and tender, about 10 minutes.

  2. Add your leeks into the large bowl with 3/4 of your vinaigrette and allow them to soak while you cut your potatoes small bite sized pieces (½ inch). Add to the leek/vinaigrette mixture, along with your chopped bacon. Toss.

  3. Taste - does it need salt? If it doesn’t taste yummy and addictive yet, you likely need to season it more. Remember that potatoes are inherently bland and need a lot of help. I usually end up adding about ½ tsp more kosher salt during the final taste and season.

  4. Serve warm or chill until ready to serve.

  5. If chilling before serving, use your reserved vinaigrette right before serving - the potatoes will likely have soaked up most of the sauce. Top with chopped fresh parsley.


Mocha Almond Cookies (Gluten Free)

545E0B27-7D33-4CC1-96DA-D82F48C38C25.JPG

These cookies are like if a brownie and an almond cookie had a baby. Not too sweet, more cake-y than cookie, they are a quick and easy (+gluten free) dessert. I have a sincere love/hate relationship with baking. The precision of traditional recipes can sometimes be too much for my patience. What if I forgot to leave the butter out and it’s not room temperature? Soften in the microwave for a touch too long and your butter is melted, ruining any chance of a fluffy cream with the sugar. This recipe is designed to be fool proof. Even when I shot these photos I forgot the cocoa powder and had to add it at the end. All was well. That’s my kind of baking!


121BF02A-7A90-40D8-B748-49B6391B42D1.JPG

Mocha Almond Cookies (Gluten Free)

30 mins

Yields: 12-15 cookies


Ingredients:

1 ½ cups almond flour

¼ cup cocoa powder

1 tsp instant coffee

2 tsp baking powder

1 tsp kosher salt

½ cup semi-sweet chocolate chips

¼ cup unsalted butter

¼ cup natural almond butter

1 egg

⅓ cup white sugar

1 tsp vanilla


Method:

  1. Preheat oven to 375F. Prepare a cookie sheet with a silpat mat or parchment paper.

  2. In a small mixing bowl, whisk together the dry ingredients (almond flour, cocoa powder, instant coffee, baking powder, kosher salt). Set aside.

  3. In a microwave safe bowl add the semi-sweet chocolate chips, butter and almond butter.  Microwave on medium-high in 45 second increments (likely only need 2) until the chocolate chips and butter melt.

    • Stir in between to combine - it may look like the chocolate isn’t fully melted but when you stir they may melt into the heat. Stir until smooth. Set aside to cool for 5 mins.

  4. In a large mixing bowl whisk together the egg, sugar and vanilla until combined.

  5. Pour your melted butter/chocolate mixture into the egg mixture, and stir until smooth.

  6. Add your dry ingredients and fold in until everything is well incorporated.

  7. Scoop 1.5 tbsp portions and roll each into a ball. Place onto prepared cookie sheet and press down with three fingers to slightly flatten. Cookies won’t spread much but leave 1 inch in between.

  8. Repeat for 12-15 cookies.

  9. If desired, top cookies with flaky sea salt or a little extra kosher salt.

  10. Bake in preheated oven for 12 minutes.

  11. Allow to cool on the sheet - enjoy!


Candied Kumquats & the Perfect Cheeseboard

2E277941-1C12-4CAD-9D8B-E48414EFBB0D.JPG

I believe the first time I had candied kumquats was at Bier Mrkt of all places. My parents were visiting Toronto and we had stopped in there for a beer and a snack. On their meat and cheese board was this delicious sweet, tangy, and somewhat bitter jam. After this first taste, it has become my go-to condiment to elevate a cheeseboard.

When making a cheese and meat board I try to make sure I have the following flavours and textures covered:

  • Sweet - usually in the form of a jelly or jam, like these candied kumquats or fig jam

  • Salty - prosciutto, speck, or another salty cured meat

  • Spicy - genoa salami, chorizo, or another spicy cured meat

    • Or: hot pepper jelly (both sweet and spicy!)

  • Briny - pickles, olives

  • Smooth/creamy - goat cheese, Boursin

  • Hard - aged cheddar, manchego (my favourite cheese!)

  • Soft  - fresh sliced french bread or baguette

  • Crunchy - crisp crackers, nuts

Kumquats usually come into grocery stores in Canada in March/April and can be found in the citrus area of your grocery store.


4670A94F-E535-441F-92F8-EA7A4B5339C6.JPG
The kumquats pre-candy!

The kumquats pre-candy!


Candied Kumquats

15 minutes

Ingredients:

1 cup of kumquats, washed (up to 1.5 cups)

½ cup white sugar

¼ cup water

Method:

  1. Quarter your kumquats and remove any seeds

  2. Add to a small saucepan with sugar and water

  3. Bring to medium heat and stir until sugar dissolves

  4. Turn down to low heat and continue to simmer until the kumquats become translucent and the syrup has thickened (it will thicken more when it cools)

  5. Chill until ready to serve!


Cilantro-Lime Yogurt Dressing

0FB41262-4E1C-438B-B058-AA9559A890C1.JPG

Summer means it’s time to start switching out soups for salads and bring the freshness back to my desk lunches. For me, the perfect lunch salad has the following components:

  • Minimum 1 roasted vegetable

  • Minimum 1 raw vegetable

  • A green vegetable base

  • A nutty grain

  • A protein

  • A zingy dressing

This dressing is my go-to lunch dressing - extra zingy and a limited amount of oil. If you are cilantro adverse you could swap in parsley or basil, and switch the lime for lemon.

1D1E024F-FCB0-469F-BAC2-B8C3B99B5FFA.JPG
62216252-2D72-438D-A668-F7B7597DA76B.JPG

Cilantro-Line Yogurt Dressing

5 mins

Ingredients:


1/3 cup fresh cilantro, including stems

1/3 cup 0% plain Greek yogurt (or 2%)

2 garlic cloves, peeled

1/2 tbsp extra virgin olive oil

2 limes juiced (roughly 1/4 cup lime juice)

1/8 tsp red pepper flakes

1/2 tsp kosher salt


Method:

  1. Put all ingredients into a food processor* and whiz until emulsified and smooth.

  2. Chill until ready to serve!

*If you do not have a food processor, you could use a blender. Depending on the size of your blender you may need to double the recipe for the blades to pick up the ingredients.

For the salad above, here is what I prepared:

  • Roasted brussels sprouts (20 mins at 400F, tossed with some olive oil, salt and pepper and red pepper flakes)

  • Halfed cherry tomatoes

  • Spinach

  • Wheat berries (from Flourist - 4 cups water, 1 cup wheat berries, boiled for 45 mins)

  • 6 minute egg (bring water to a boil, turn down to a simmer, place in eggs and cook for 6 mins. Place into a ice water bath).

  • Cilantro-Lime Yogurt Dressing