I absolutely love Greek food. My mom and I used to always go to Greek restaurants as our mother-daughter dates growing up, and when I moved to Toronto in 2015 I happened to move to Greektown. Through the years I mastered when to cross the street so that I wouldn’t be on the same side as the tavernas with spinach and cheese pie in the window. It was too hard not to stop in and pick up a $3 slice to take home. I love making this recipe when I have a weekend afternoon free - they take a bit of prep and assembly, but they freeze super well (uncooked) which makes them a handy little snack for future-you or easy entertaining! These are perfect as an appetizer or pair with a big salad for a veggie main. As you have probably picked up from other recipes, I love leeks dearly and prefer them in the filling here, but you could always swap for white onion.
A few tips:
Frozen vs Fresh spinach
I would definitely use frozen spinach over fresh for this recipe. I don’t think fresh is worth the effort here, plus it will save you money! You need the spinach cooked, so may as well use the already cooked stuff! The only thing to watch out for is the water content of the frozen spinach once you defrost it. You really want to get as much water out of it as possible otherwise you’ll have soggy spanakopitas. Here is how I prep the frozen spinach:
Ideally, I take it out of the freezer when I take out the phyllo pastry (2-3 hours prior to assembly)
If after 2 hours on the counter it hasn’t fully defrosted, I put it in a bowl to let it fully defrost in the microwave.
I then pour into a fine-mesh sieve and allow the water to drain into a bowl below.
I use the back of a spoon to push on the spinach and squeeze out as much water as possible!
You could also use cheesecloth to do this, but this saves your hands from getting spinach juice all over them!
Fresh herbs vs dried herbs
If you don’t have fresh herbs, you can also omit these! Or you could sub in dried herbs. I would do 3 tbsp of dried herbs instead of ½ cup of fresh since dried herbs are generally more concentrated in flavour.

How to Freeze
If you plan on baking them within a few days, you could store them uncooked in the fridge. I prefer to freeze the ones I am not baking immediately. To freeze, I place them in a single layer on a parchment paper-lined cookie sheet and freeze for 1-2 hours. Once they are fully frozen, I then put them into a freezer-grade plastic bag or sealed container. Freezing them first in a single layer will ensure they don’t stick together in the freezer.
Serving
These are best served fresh from the oven, but after they are baked they will keep well at room temperature for 1 hour, so they do make for perfect party food.

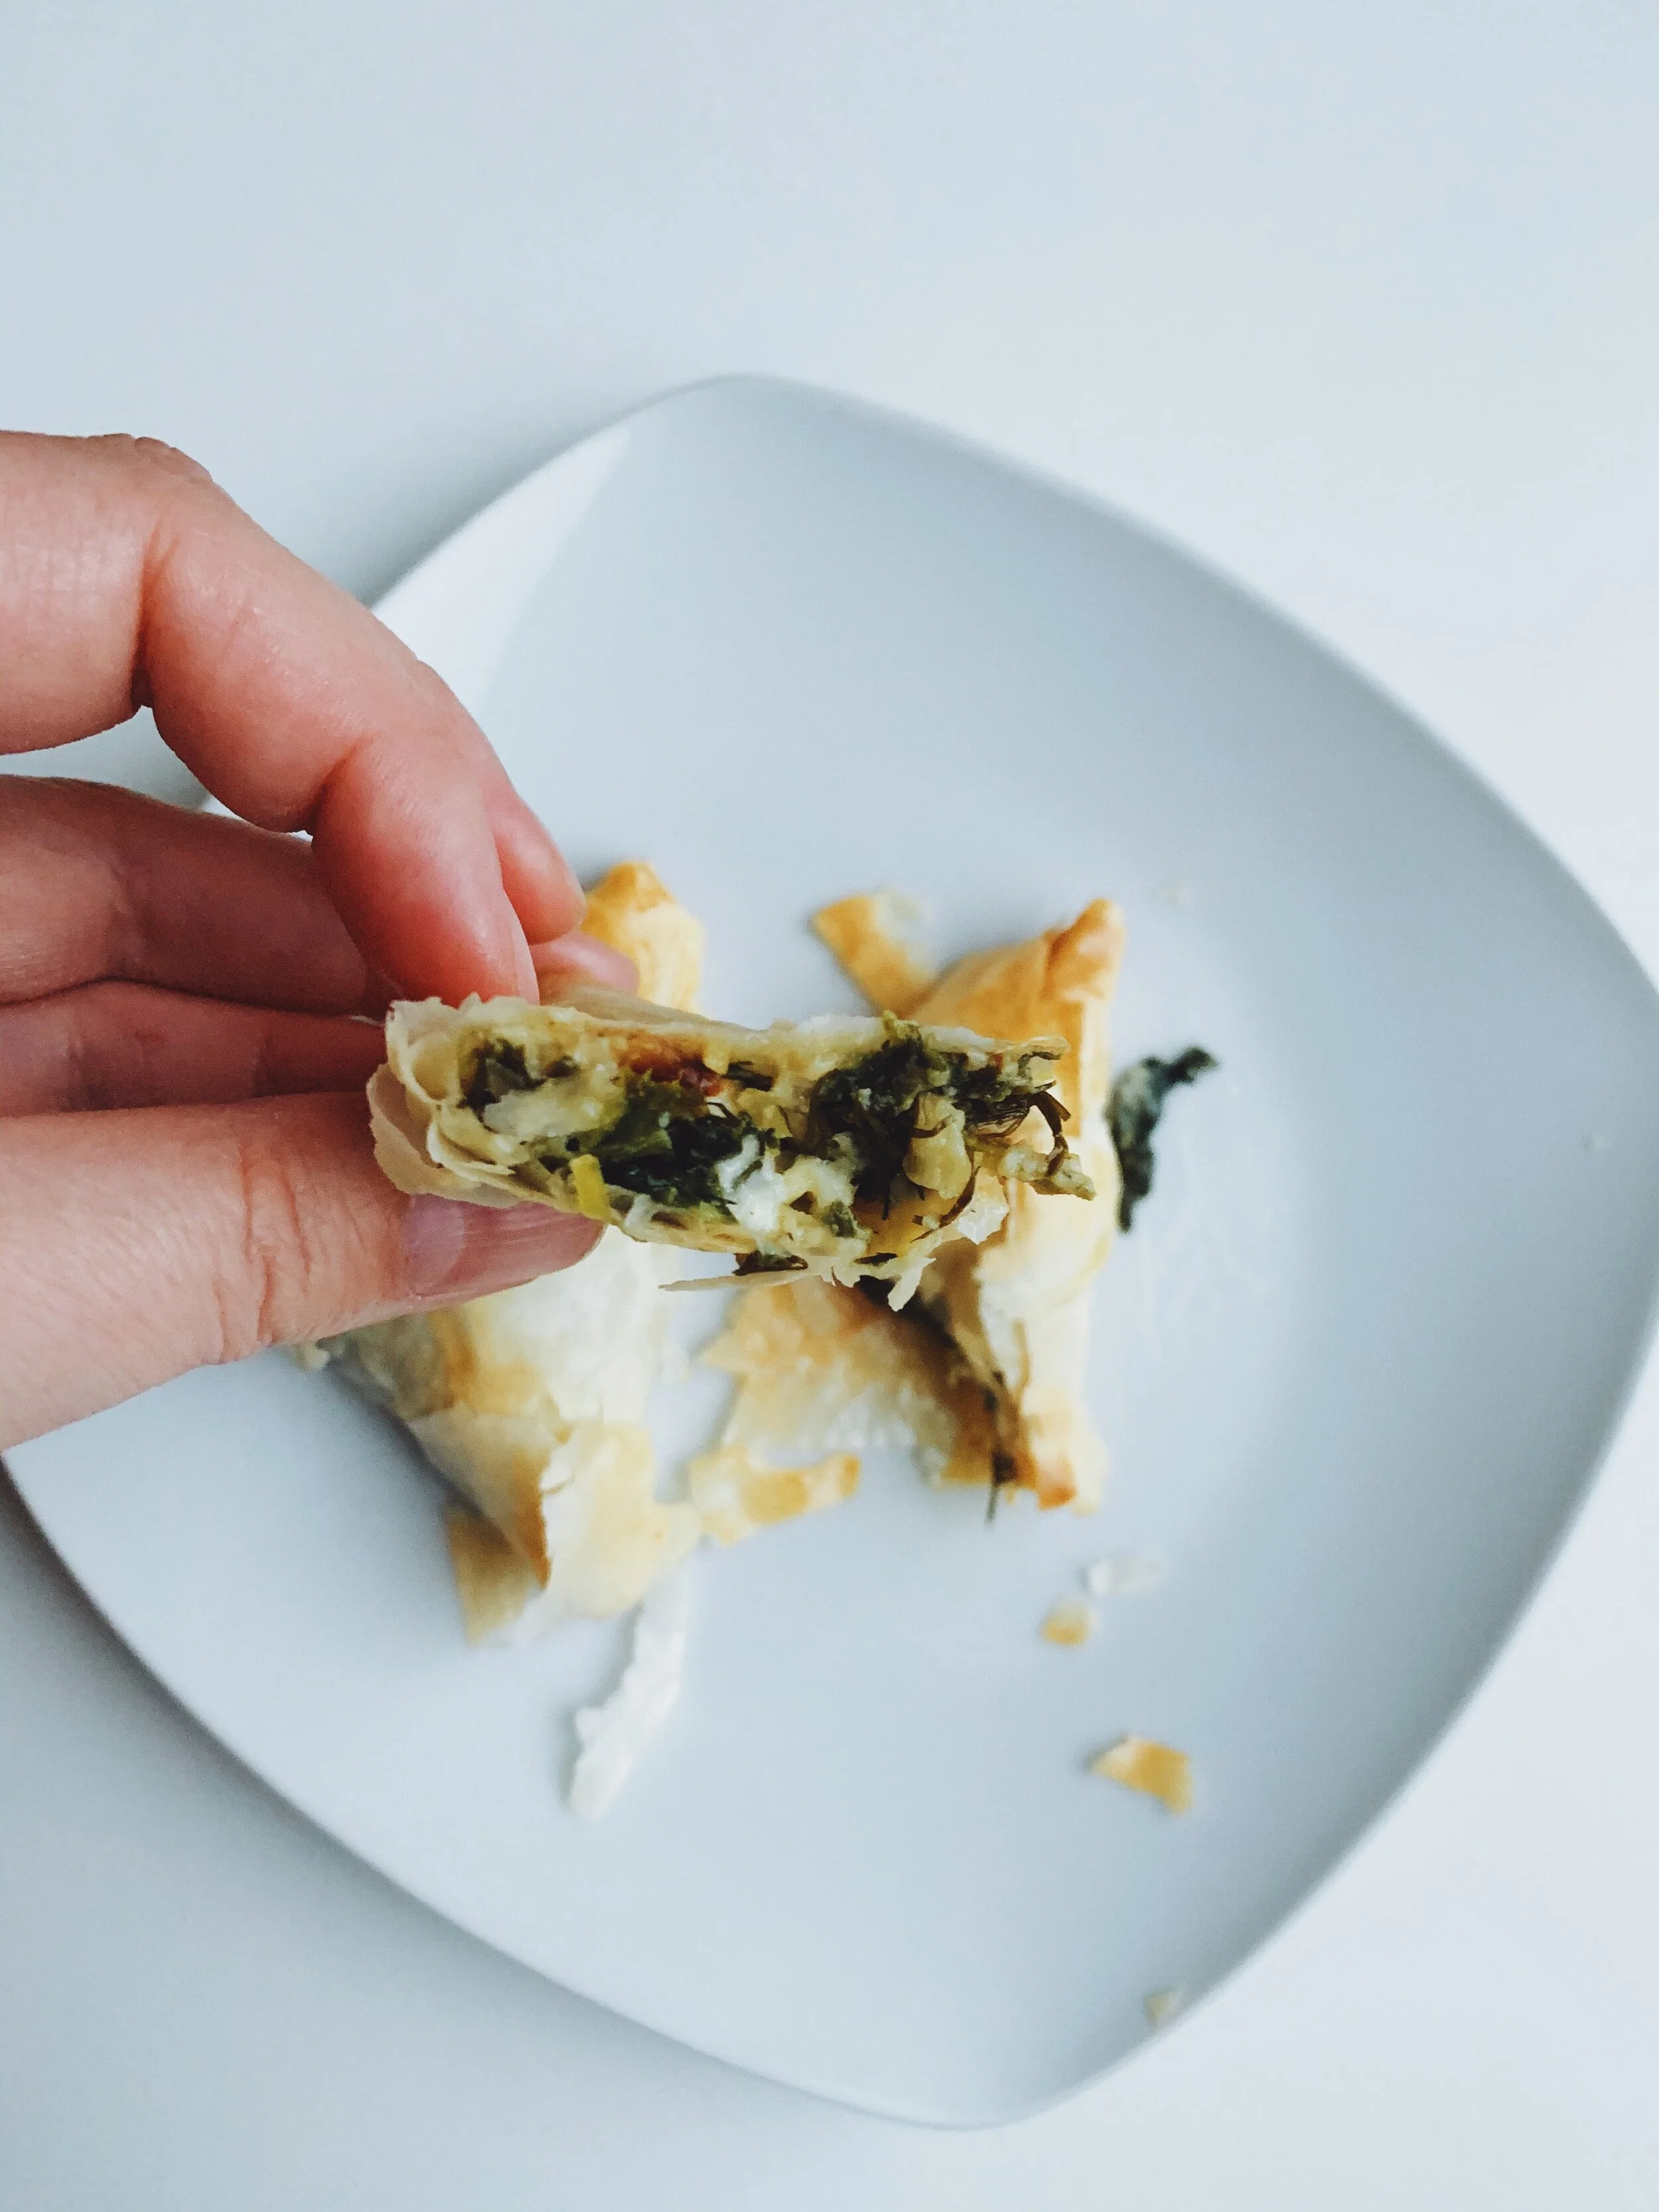
Spanakopita (Leek and Spinach Cheese Pies)
Yields 24-36 small (three-bite) individual pie triangles
Note: this recipe will use roughly half a package of phyllo pastry. If you’d like to use the full package, double the recipe! Or use the leftovers to make half a baklava recipe in an 8x8 pan - this is my go-to recipe!
Ingredients:
1 package of frozen, cooked spinach, thawed
1 package of frozen phyllo pastry, thawed
1 leek, sliced thinly (white part only)
1 tbsp butter
1 tsp olive oil
½ cup fresh herbs - I prefer dill, but parsley can also be used
2 cups of feta cheese, crumbled
1 egg
Salt and pepper to taste
For assembly:
Approx ½ cup - ¾ cup melted butter (to brush on phyllo)
Method:
Pre-prep:
Minimum 2 hours prior to starting, remove your phyllo pastry from the freezer to allow it to defrost. This is also a good time to take your spinach out to defrost.
Making the filling:
Heat a pan to medium heat and add in the butter and olive oil. Add in your sliced leeks, saute until buttery and soft - approximately 8 mins. Season leeks with salt and pepper. Set aside and allow to cool to room temperature (if you mix it in too hot it will cook your egg!)
Drain spinach really well by pressing it with the back of a spoon in a strainer. Once well-drained, put the spinach onto a cutting board and run your knife through the packed spinach a few times to chop it roughly. Add the chopped spinach to a large bowl.
To your large bowl with the spinach, you can add your feta, fresh herbs and cooled leeks. Mix together until everything is well distributed. Take a little taste - does it taste good? Does it need more salt? Maybe some pepper? Taste and adjust the seasoning until it tastes yummy.
Once you are happy with the seasoning, crack in one egg and mix it into your filling mixture.
The Assembly:
Set up your assembly station: you’ll need melted butter, a pastry or bbq brush, a pizza cutter or sharp knife, and a cutting board
While you are assembling I recommend putting a damp clean kitchen towel on top of the phyllo pastry so it doesn’t dry out.
Take a sheet of phyllo. Brush half of the sheet with melted butter and fold the other half over. Using a pizza cutter or a sharp knife to cut the now half-sized sheet into 3 long strips (or 2 if you want them to be bigger).
Place a heaping tablespoon of filling at the end of the strip, and brush butter over the rest of the strip. Fold over the filling from the bottom corner to the top of the strip, forming a triangle. Then continue to fold the triangle repeatedly down the strip until all the phyllo is used (This is hard to explain so I have saved a video to my Instagram story highlights!).
Repeat for all of your strips until all of the filling is used.
Once all of your pies are assembled, you can either freeze for later or bake right away.
To bake, preheat the oven to 350F. Place spanakopitas on a parchment paper-lined baking sheet 1 inch apart and bake until golden brown on top, approximately 15 mins.
From frozen they take 20-25 mins.